Timelapses
Set up, record and save a timelapse without touching a setting.
Field note 01
What a timelapse needs
A timelapse is a lot of frames taken a fixed interval apart and played back as video. So it needs two things a normal photo does not: time, and a phone that does not move for all of it.
Pick a subject that is already moving. The camera stays still; the world supplies the motion.
Field note 02
Recording one
- 1Choose a timelapse profile. Celestial Timelapse for the night sky, or one of the day and hyperlapse profiles for everything else. The camera settings and interval come with it.
- 2Frame the shot and lock the phone down. Once recording starts you cannot adjust the framing without ruining the sequence.
- 3Check battery and storage. A long timelapse will outlast a half-charged phone, and the app stops recording when the battery gets low.
- 4Tap record and leave it alone. The stats display shows elapsed time, frame count and the estimated length of the finished video.
- 5Stop when the length looks right. Name the session, then let it render and save.
Field note 03
Choosing an interval
The interval is the gap between frames. Short intervals suit fast subjects; long intervals compress slow ones.
The app accepts anything from a tenth of a second up to an hour between frames. The profile you picked has already chosen a sensible value — change it only when the subject is unusually fast or unusually slow.
As a rough guide: a second or less for traffic and crowds, a few seconds for clouds and sunsets, much longer for anything that takes hours.
Field note 04
How long to record
- Traffic and crowds — 5 to 15 minutes.
- Moving clouds — 10 to 30 minutes.
- A sunset or sunrise — 30 to 60 minutes.
- A quick test — 2 to 5 minutes, just to check framing.
Record longer than you think you need. You can always cut a timelapse short; you cannot extend one after the light has gone.
Field note 05
Good subjects
- Sky — clouds crossing, weather rolling in, sunrise, sunset, stars turning.
- City — a busy junction, a station concourse, construction, lights coming on at dusk.
- Close to home — food cooking, a drawing being made, shadows moving across a wall, a tide going out.
Movement needs to be visible in the frame. A landscape on a still day produces a video of a photograph.
Field note 06
While it is running
- Do not touch the phone. Not to check it, not to change a setting.
- Keep the lens clean. A smudge is in every single frame.
- Watch the battery and free space, especially past twenty minutes.
- Expect the phone to get warm on a long run. Keep it out of direct sun.
Field note 07
Afterwards
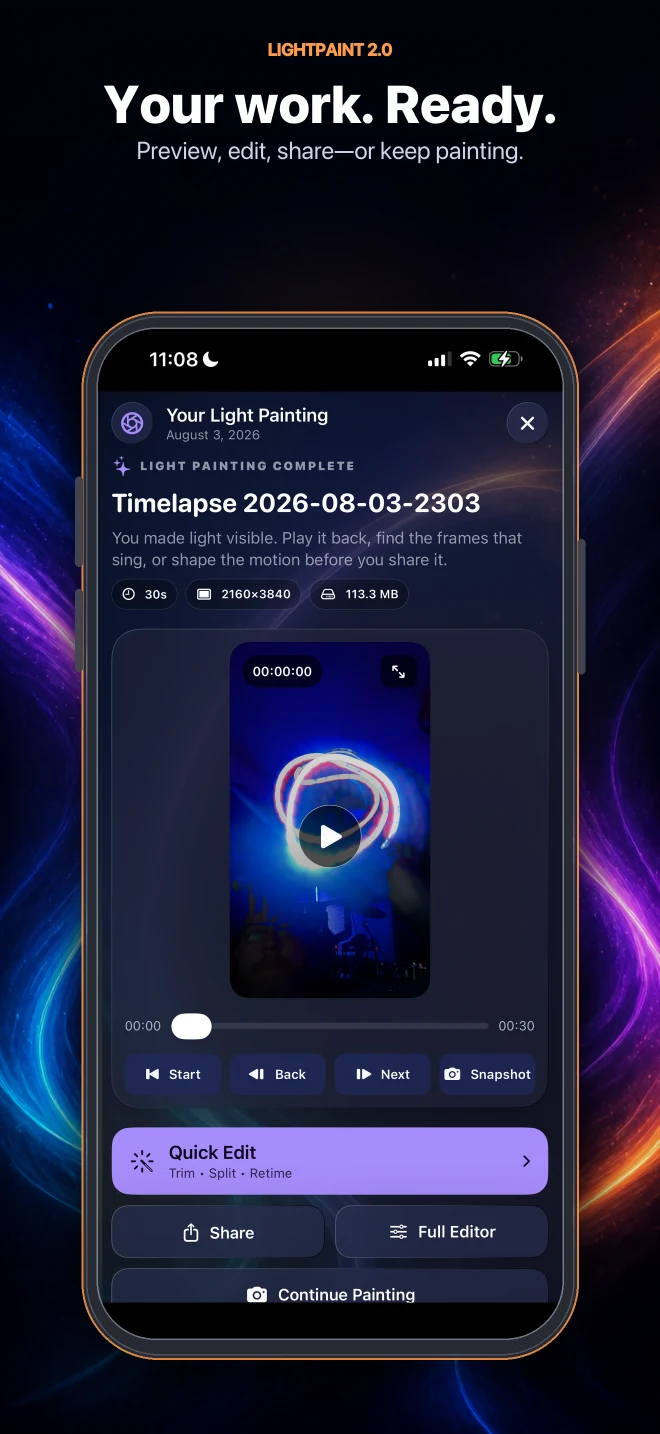
Stopping brings up the session options. You can rename the session, render the video immediately, and save it to your photo library.
You can also add another segment to the same session rather than starting over, which is how you build a multi-part timelapse where each part had different settings.
Field note 08
Practical tips
- Scout the spot in daylight, even if you are shooting at night.
- Bring a power bank for anything over half an hour.
- Use a tripod or a clamp. Propping the phone against something works right up until it slips.
- Point away from lights that will come on partway through and change the exposure.
- On an older iPhone, record at 1080p rather than 4K for long sessions, and close other apps first.