Getting Started
Your first light painting, in five steps.
Field note 01
Before you start
You need three things: a dark space, a light, and something to keep the phone still.
Darkness matters most. A room with the lights off and the curtains shut beats a garden under a street lamp. If the preview looks bright, your trails will be faint no matter what you change.
Any light works to learn on — your phone torch, a bike light, a keyring LED. Coloured lights are more fun but not required.
Field note 02
Your first light painting in five steps
- 1Open the camera. Tap the large camera button on the main screen.
- 2Choose the Light Painting profile. Pick it from the profile list. It sets a long shutter, a high ISO and full-length trails for you.
- 3Set up the shot. Rest the phone on something solid, pointing at the dark area you will paint in. Leave room in the frame for your arm to move.
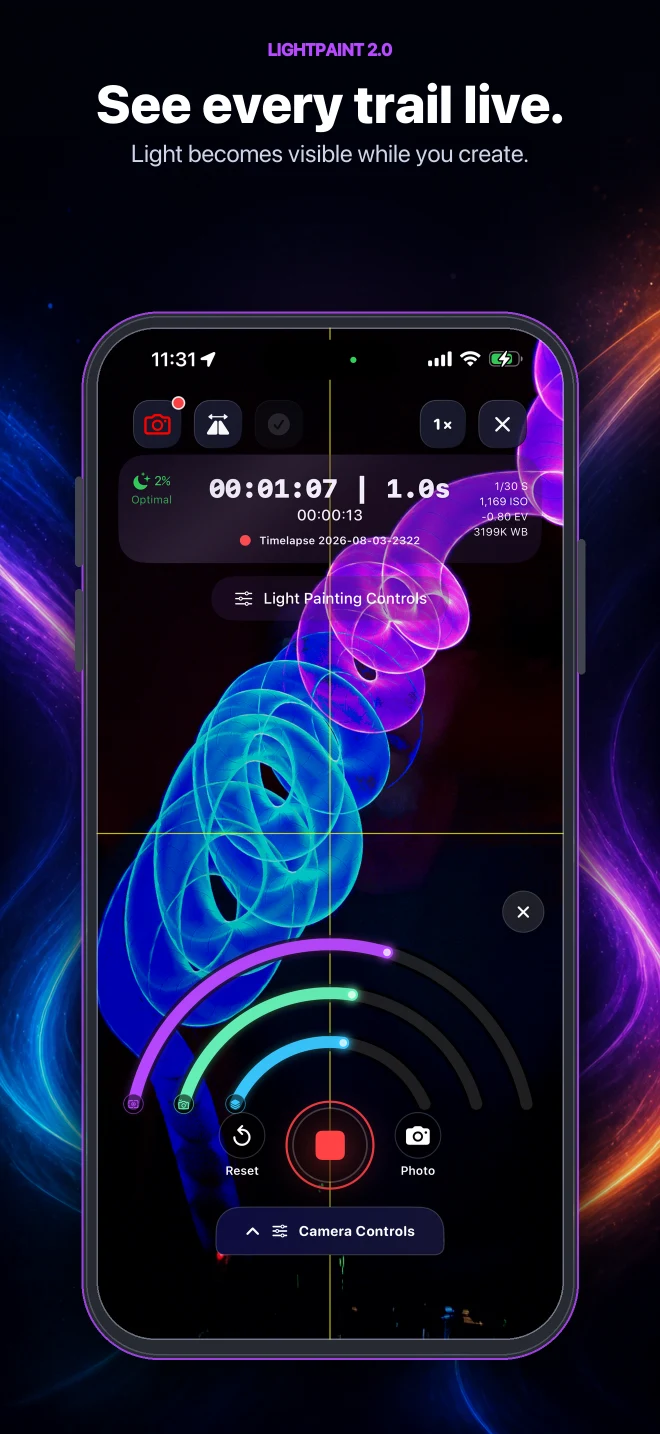
- 4Record, and draw. Tap record, then move your light in front of the camera. The trail appears as you go — keep watching the screen, not your hand.
- 5Stop and save. Tap stop. Name the session if you want, then save it to your photo library or share it straight out.
That is a complete light painting. Everything else is refinement.
Field note 03
Reading the light indicator
The camera shows an ambient light reading, because too much light is the single most common reason a first attempt disappoints.
- 0–10% — optimal. Trails will be bright and clean.
- 10–30% — good. Perfectly usable.
- 30–50% — fair. Expect a washed-out background.
- 50–80% — poor. Turn lights off or wait for darker.
- 80–100% — too bright. The app will warn you.
If you cannot get the reading down, lower the ISO. That darkens the whole frame, including the background you do not want.
Field note 04
First-run permissions
- Camera — required. Nothing works without it.
- Photos — needed only to export to your photo library. You can grant it later.
- Microphone and Siri — only for voice commands.
- Location — optional, and only adds place metadata to what you capture.
If you said no to camera access and the preview is black, turn it back on in the iOS Settings app under Privacy and Security, then Camera.
Field note 05
Things worth knowing early
- Move slower than feels natural. Slow movement makes thick, bright trails. Fast movement makes thin, faint ones.
- Do not point the light at the lens. Aim it at what you are drawing, or across the frame. A light shone into the camera blows out everything around it.
- Do not move the phone. Any camera movement smears the whole frame, not just your trail.
- Clear between takes. If old trails are still on screen, use the clear control before starting a new one.
- Practise the shape first. Do the movement once with the light off. It is much easier the second time.
Field note 06
Common first mistakes
- Recording somewhere too bright.
- Holding the phone in your hand instead of resting it on something.
- Using a light that is too dim to register.
- Moving so fast the trail barely registers.
- Standing between your light and the camera, hiding the trail with your own silhouette.
Field note 07
Where to go next
Light Painting Basics covers the movements — circles, lines, letters and shapes — and how to choose and colour your lights.