Light Painting Basics
Movements, light sources and colour — plus the mistakes to skip.
Field note 01
The one rule
Speed controls thickness. Move slowly and the trail is thick and bright; move quickly and it is thin and faint.
Everything else in this guide is a variation on that.
Field note 02
Circles and spirals
Start here. Circles are the easiest shape to make look deliberate, because a wobble reads as part of the curve.
- Start small, then widen the circle as you go.
- Move from the shoulder, not the wrist. Your wrist cannot draw a big circle evenly.
- Keep the speed constant. Changing speed mid-circle makes one side thicker than the other.
- Do the motion once with the light off before you record.
Once a plain circle looks clean, try overlapping circles, a spiral winding inward, a spiral winding outward, or a figure eight.
Field note 03
Lines and waves
Straight lines are harder than circles and much less forgiving — every tremor shows.
- Walk the light across the frame rather than sweeping your arm, if you have the space.
- Vary the speed deliberately to change thickness along a single stroke.
- Practise without looking at your hand. Watching the light makes the line follow your gaze.
Try horizontal sweeps, verticals, diagonals, smooth sine waves, and sharp zigzags.
Field note 04
Letters and shapes
Writing works, with one catch: you have to write backwards from the camera's point of view, or face the camera and accept mirrored text.
- Plan the whole path before you start. Where does the pen lift?
- For closed shapes, finish where you started, or the gap is obvious.
- Break the light beam when you need a gap — cover it with your hand or point it away.
- Keep moving. In some profiles the earliest part of a stroke fades before you finish a long word.
Stars, hearts, triangles, squares, letters and numbers are all reachable once circles feel easy.
Field note 05
Choosing a light
- Phone torch — always with you, bright, and a bit harsh. Fine to learn on.
- Small LED torch — the most controllable. A tight beam gives a clean, narrow trail.
- Coloured torch — the cheapest way to make a shot look intentional.
- LED strip or wand — draws a wide ribbon rather than a line, and covers a large shape in one pass.
- RGB light — can change colour mid-stroke, so one trail shifts through a gradient.
Brightness matters less than you expect. A very bright light in a very dark room mostly makes a white core with no colour left in it. If your colours look washed out, use a dimmer light or drop the ISO.
Field note 06
Working with colour
- One colour looks composed and is hard to get wrong.
- Two opposites — blue with orange, red with green — separate cleanly and read as a choice.
- Warm or cool throughout sets the mood more strongly than any single hue.
- Changing colour mid-stroke turns one continuous trail into the most striking thing in the frame.
If a colour is not registering, it is usually the white balance rather than the light. A warm white balance will drain a blue light almost completely.
Field note 07
Trail length and blending
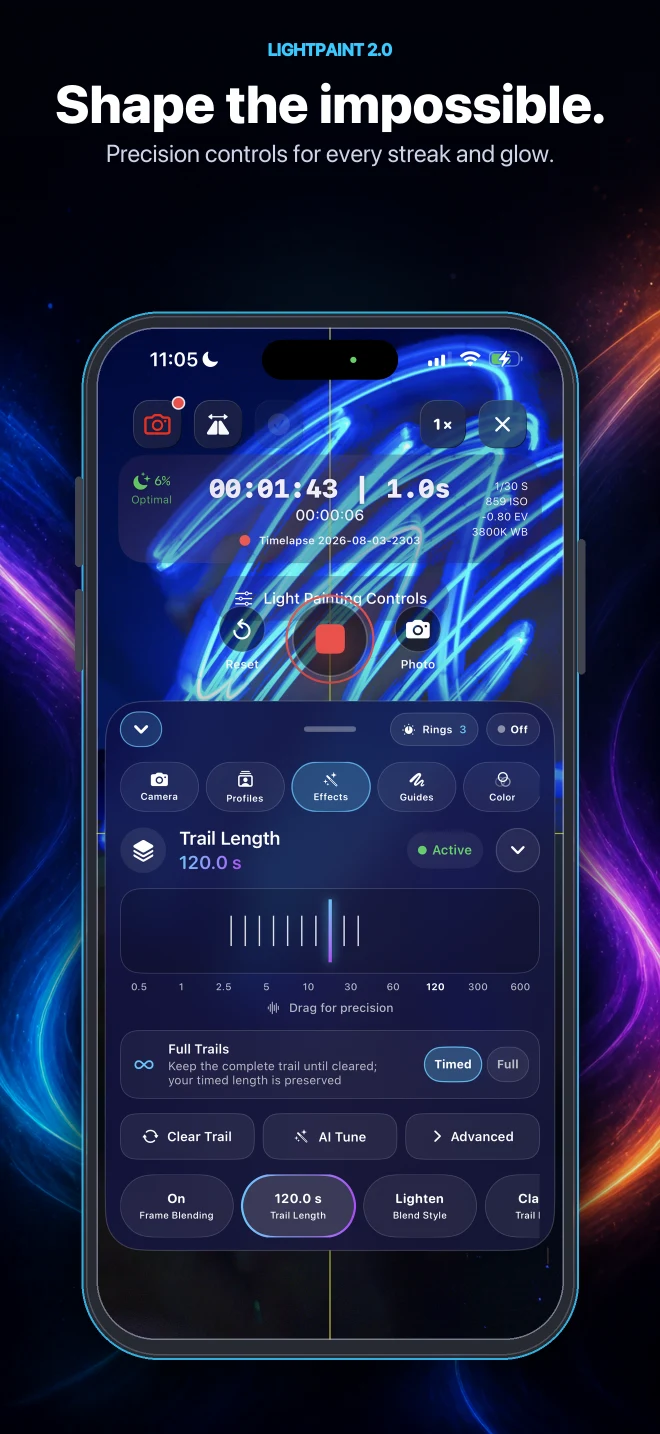
Trail length decides how much of your history stays on screen. Short trails let early strokes fade so you can keep drawing in the same space; full-length trails keep everything, which is what you want for star trails and single continuous shapes.
The blend mode decides how overlapping light combines.
- Additive — classic accumulation. Light piles up and crossings get brighter.
- Screen — brightens while protecting highlights from blowing out.
- Lighten — keeps only the brightest pixel at each point, so trails stay crisp and do not build up.
- Star Trail — tuned for astronomy, holding faint points of light without amplifying noise.
If crossings are burning out to white, move from Additive to Lighten.
Field note 08
Matching the mode to the scene
- Light Painting for anything you draw by hand.
- Steel Wool for spinning sparks. Wear gloves, cover your arms, stand away from anything dry, and check local rules first.
- Star Trails for a fixed frame over many minutes.
- Vehicle Lights for traffic, where the subject supplies the movement.
Field note 09
Fixing a disappointing shot
- Trails faint or invisible — too much ambient light, or a light too dim. Check the light indicator first.
- Whole frame washed out — lower the ISO, or shorten the trail length.
- Trails there but blurry — the phone moved. Put it on something solid.
- Colours look white — light too bright for the ISO, or white balance fighting the light.
- Your silhouette in the shot — you crossed between the light and the lens. Stay behind or beside your light.