01 · Apple Watch
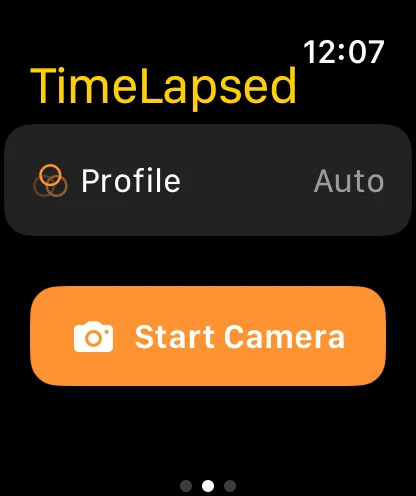
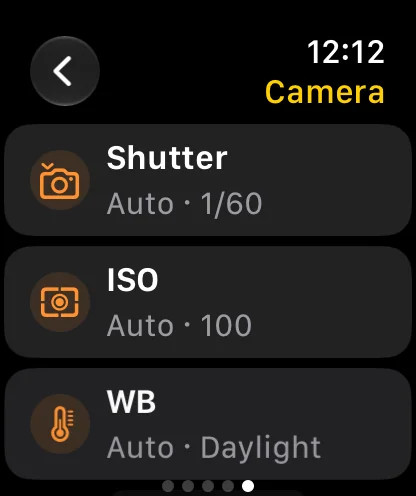
Frame the phone before putting the Watch to work.
Mount the iPhone, choose the camera profile and check the composition on the larger screen first. Open the Watch experience and confirm that the preview and connection are ready. The wrist view is useful for checking the scene while you are away from the mount, including a light-painting performance or a recording where you appear in the picture.
Frame the phone before putting the Watch to work.
02 · Apple Watch
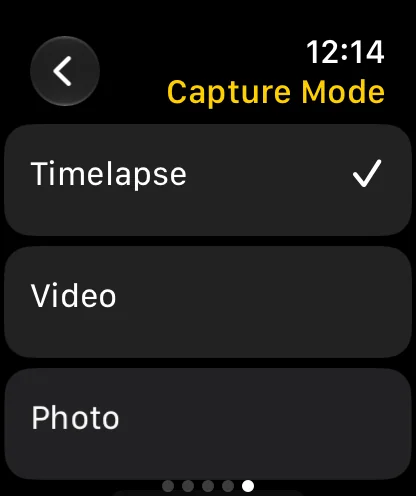
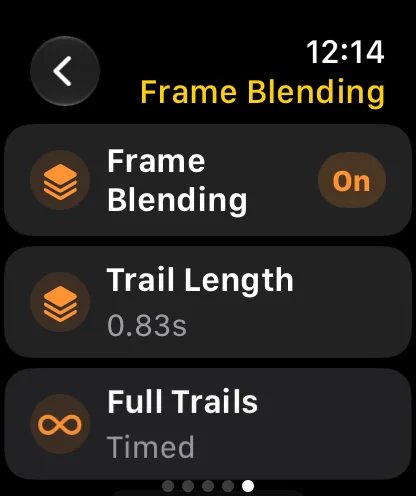
Use the wrist for the actions you need during a take.
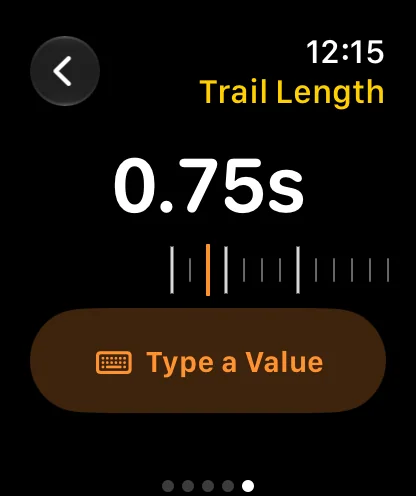
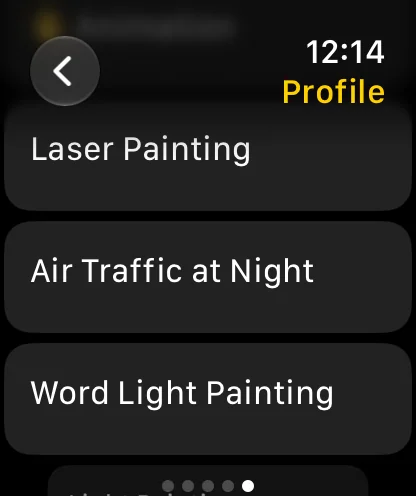
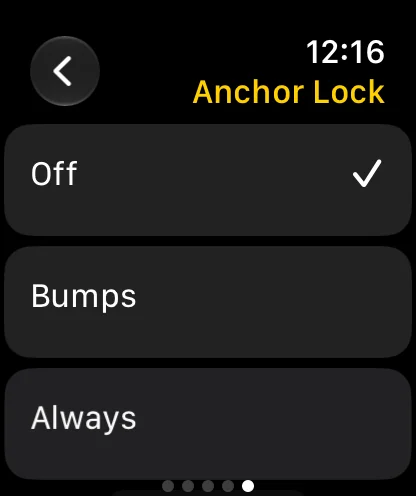
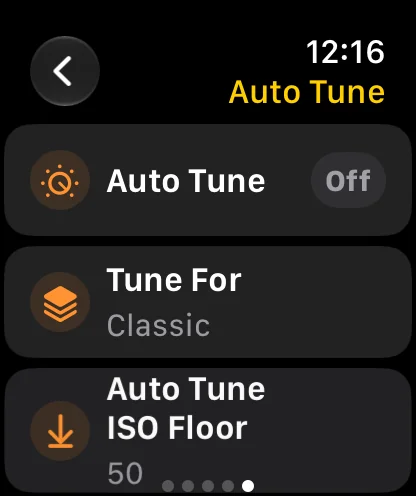
Preview and record controls are available free. Advanced Watch controls require Pro and offer more of the supported camera settings at the wrist. Review which controls apply to the active capture mode before starting. The phone remains the recording camera, so its exposure, mount, storage and power still determine what the session can capture.
Use the wrist for the actions you need during a take.
03 · Apple Watch
Choose the remote surface that suits the session.
Apple Watch is convenient for quick operation close to the paired camera. Another TimeLapsed device offers a larger remote view when you need more room to inspect the picture or controls. Both are ways to keep your hands off the mounted phone. Test the intended connection before a take you cannot easily repeat.
Choose the remote surface that suits the session.
A Practical Workflow
- 01
Set up the iPhone
Mount the phone and choose the camera settings for the scene.
- 02
Check the Watch preview
Confirm the connected camera view before stepping into position.
- 03
Operate capture
Use wrist controls to record, with Pro for advanced Watch settings.
Inside the App
Tap a Screen for a Closer Look
Questions About Apple Watch
Do I need Pro to start recording from Apple Watch?
No. Watch preview and record controls are free. Advanced Watch controls require Pro.
Does Apple Watch record the video itself?
The Watch controls and previews the connected phone camera. The capture is made by the iPhone setup.