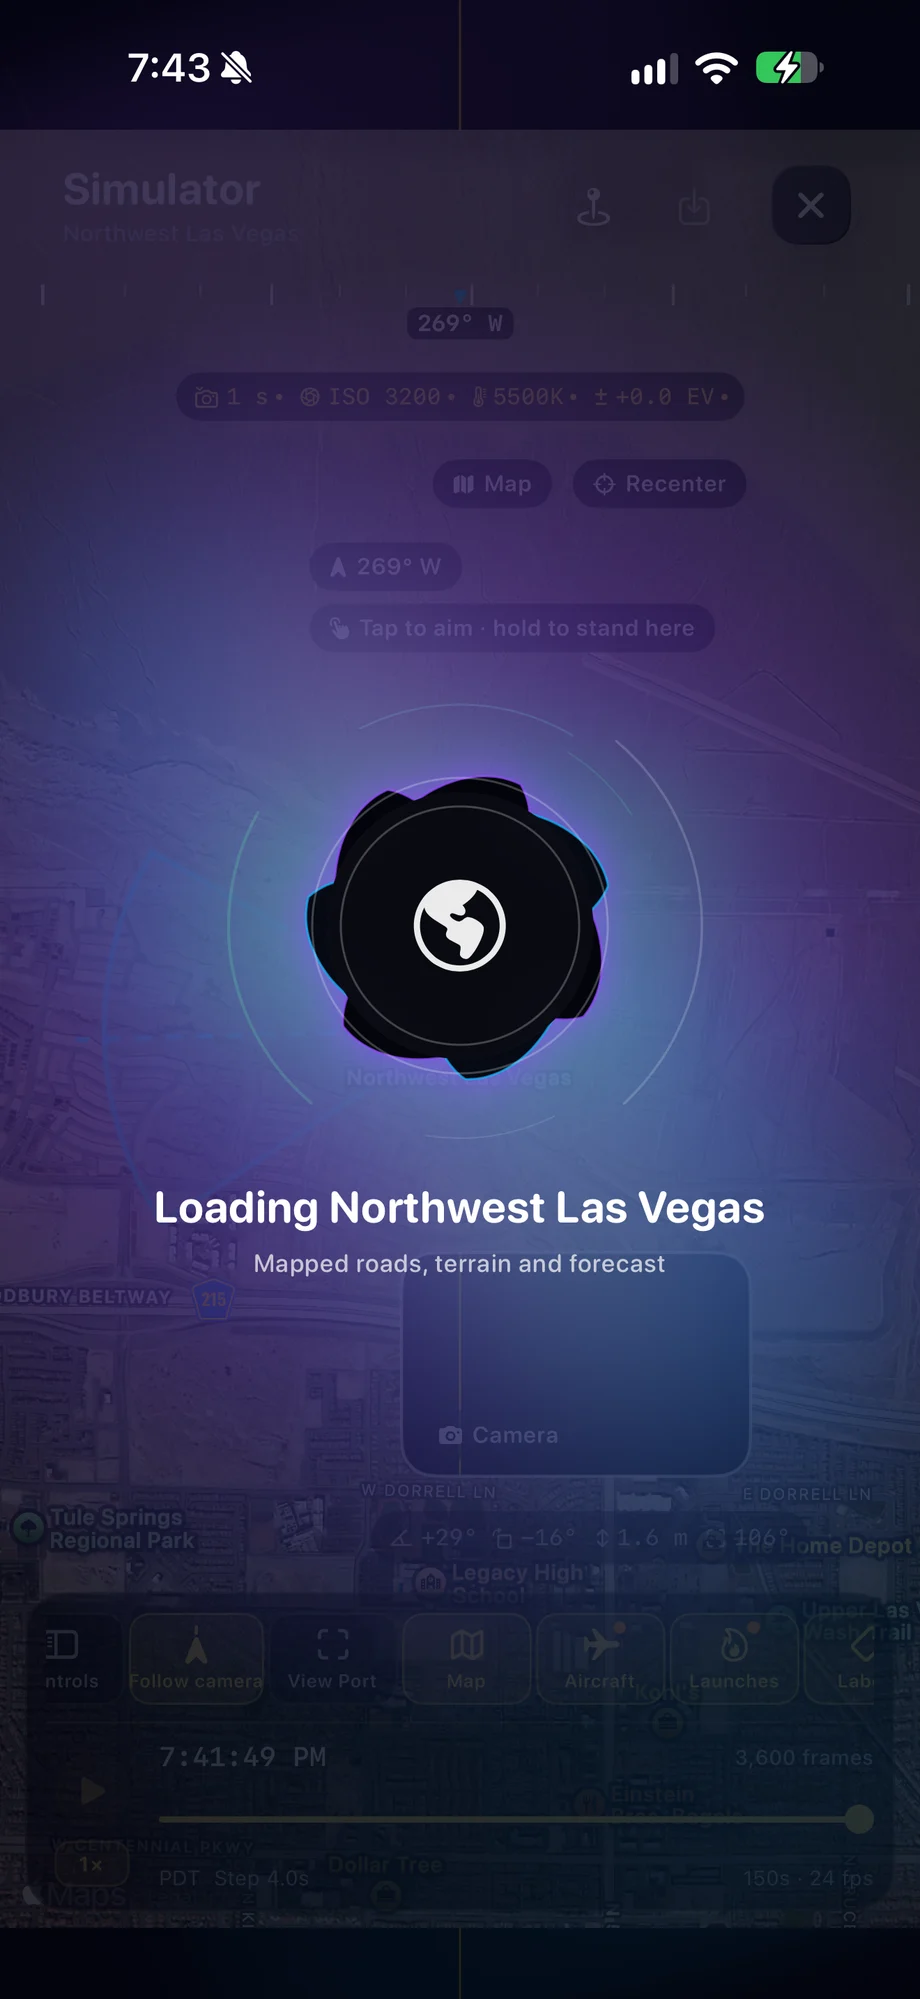
01 · Simulator
Start with the place you want to shoot.
Open the Simulator in TimeLapsed and choose a location. The map gives the virtual camera a place to stand. Keep the direction and framing in view as you explore the scene. Switch between the map and virtual camera as you decide where to stand and what to include in the picture.
02 · Simulator
Keep framing and timing in the same workspace.
The Simulator interface brings the camera direction, camera settings, map and playback timeline into one view. Use that workspace to think through the shot before a real recording. A simulation helps with preparation; check the actual scene, weather and camera preview when you arrive.
03 · Simulator
Take the plan to the real camera.
Once you have a view in mind, review the location in the sky planner and check the conditions for the shoot. Set up the tripod, compare the live framing and record a short test. Keep the useful parts of the rehearsal and adjust for the light and movement in front of you.
A Practical Workflow
- 01
Open the app Simulator
Choose the location you want to explore inside TimeLapsed.
- 02
Review the view and timeline
Inspect the virtual camera direction, framing and timing.
- 03
Check the real scene
Confirm the conditions and live camera settings before recording.
Inside the App
Tap a Screen for a Closer Look
Questions About Simulator
Does this page run a simulator in the browser?
No. This page shows screenshots of the Simulator built into TimeLapsed. Open the app to use it.
Is the Simulator showing a live camera feed?
No. It is a virtual planning view. Check the live camera and actual conditions at the shoot location.