01 · Camera Profiles
Start with a profile suited to the scene.
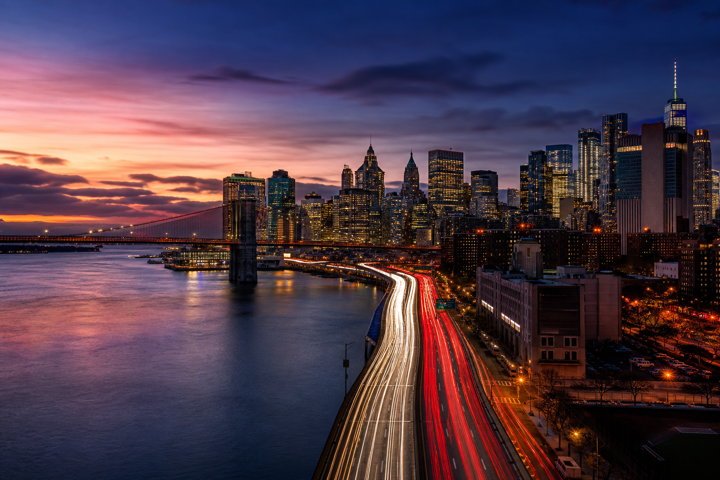
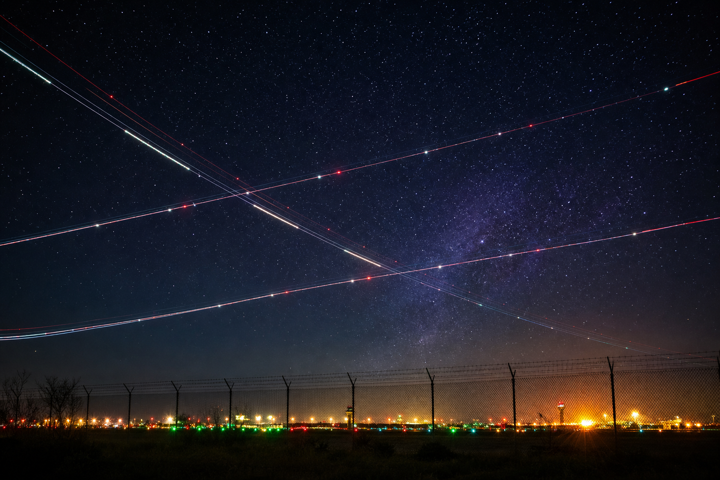
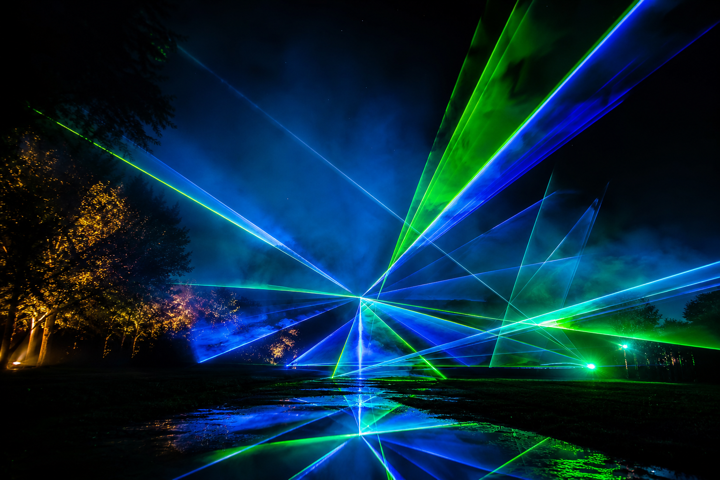
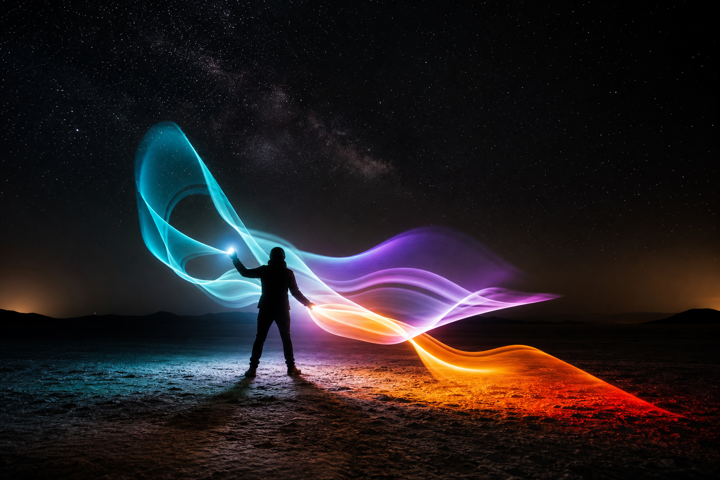
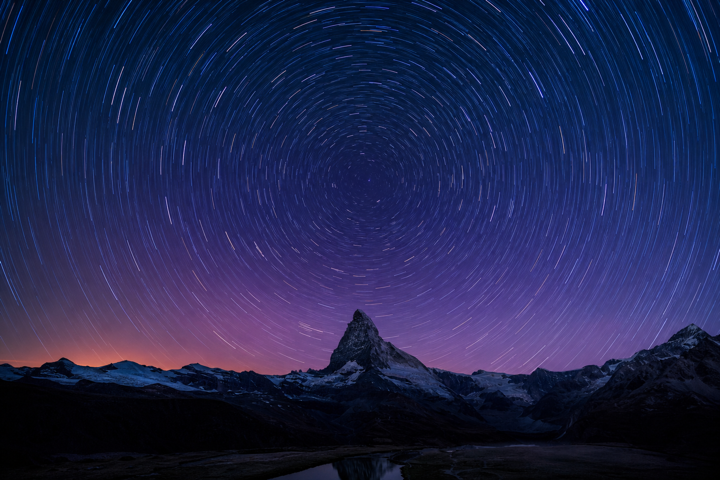
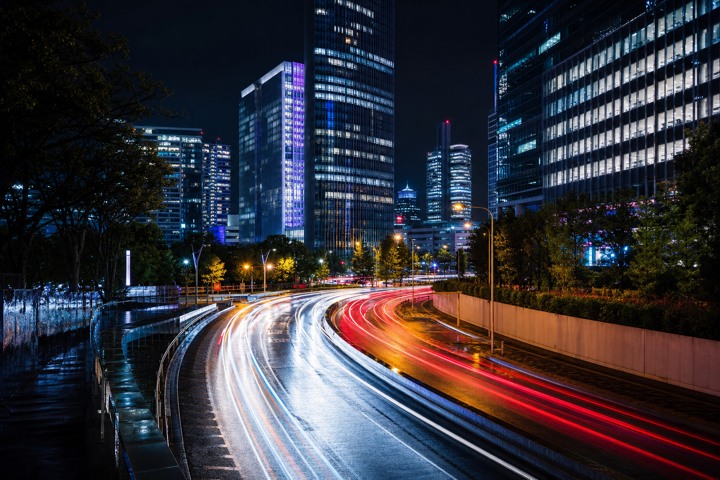
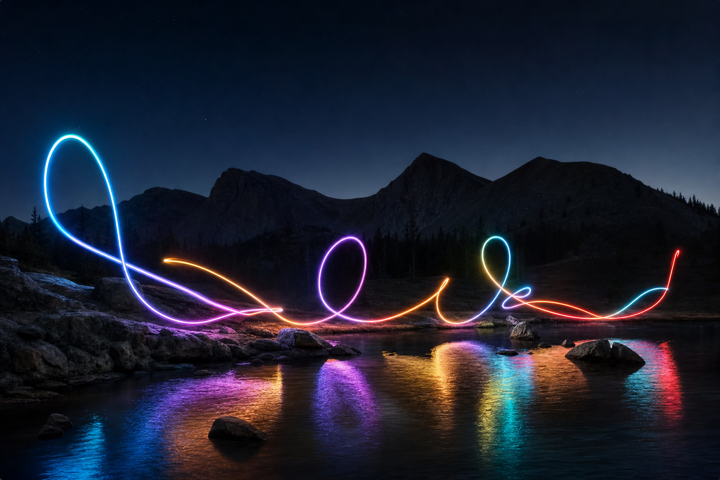
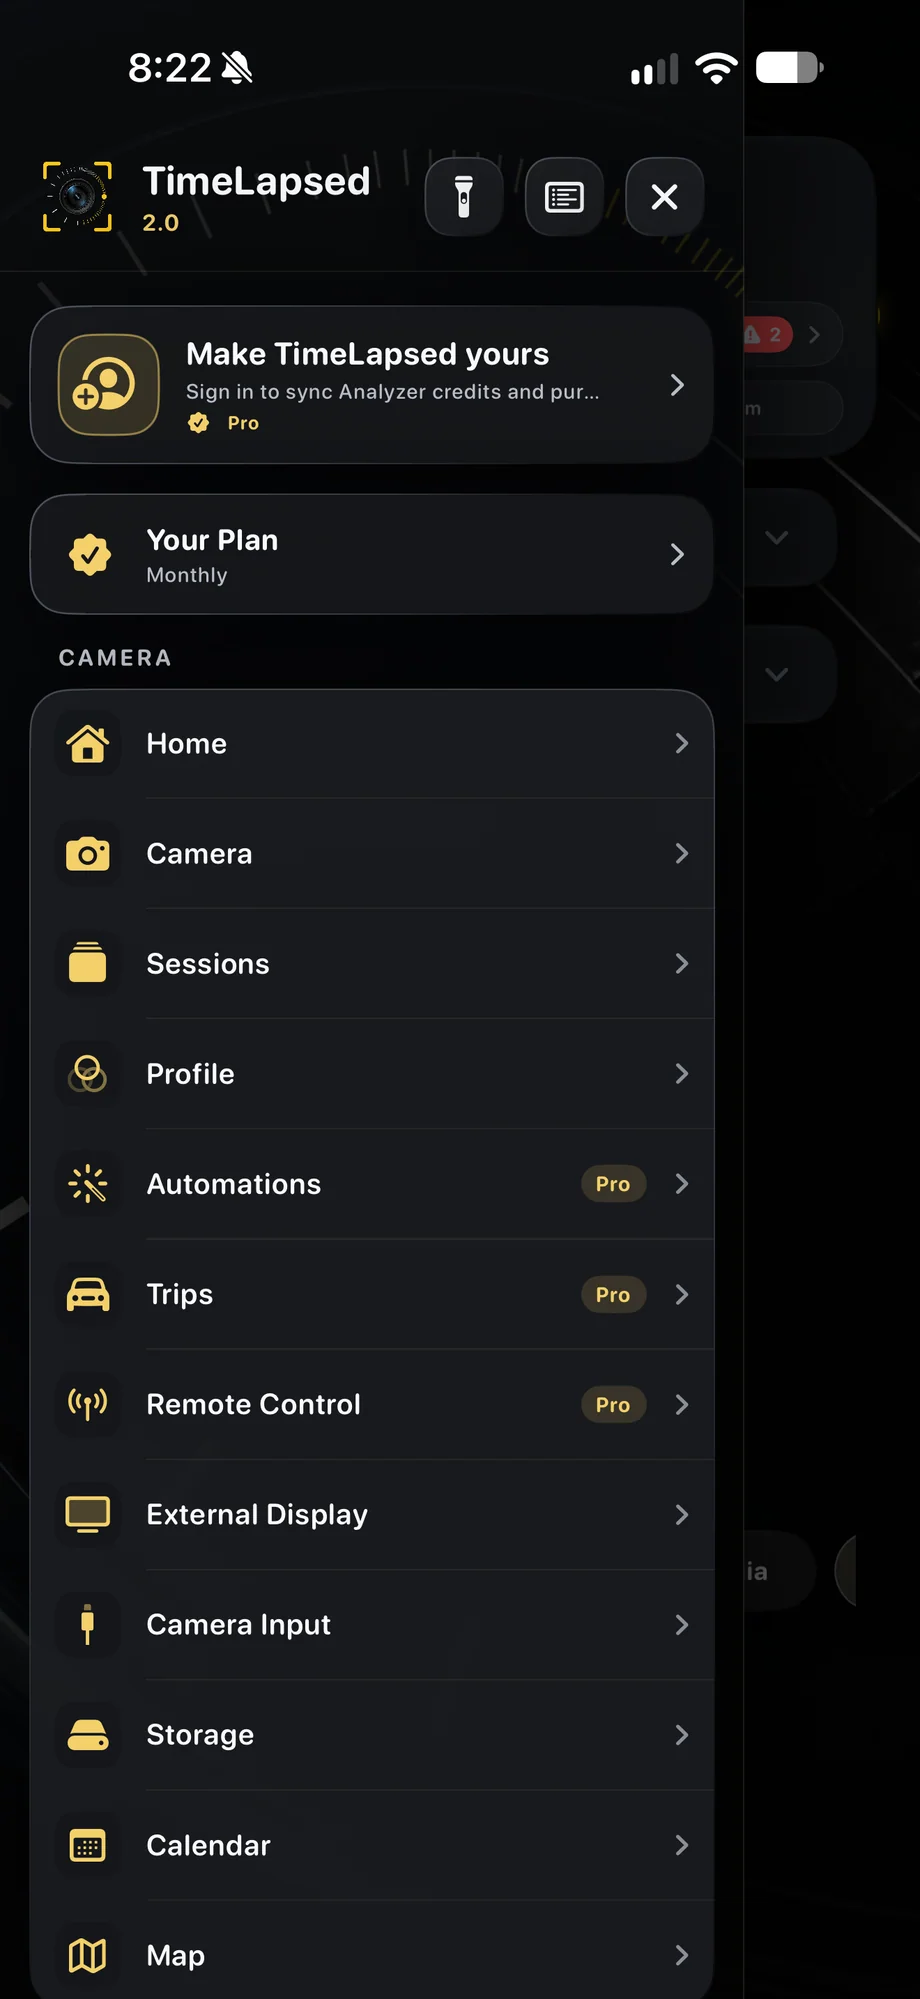
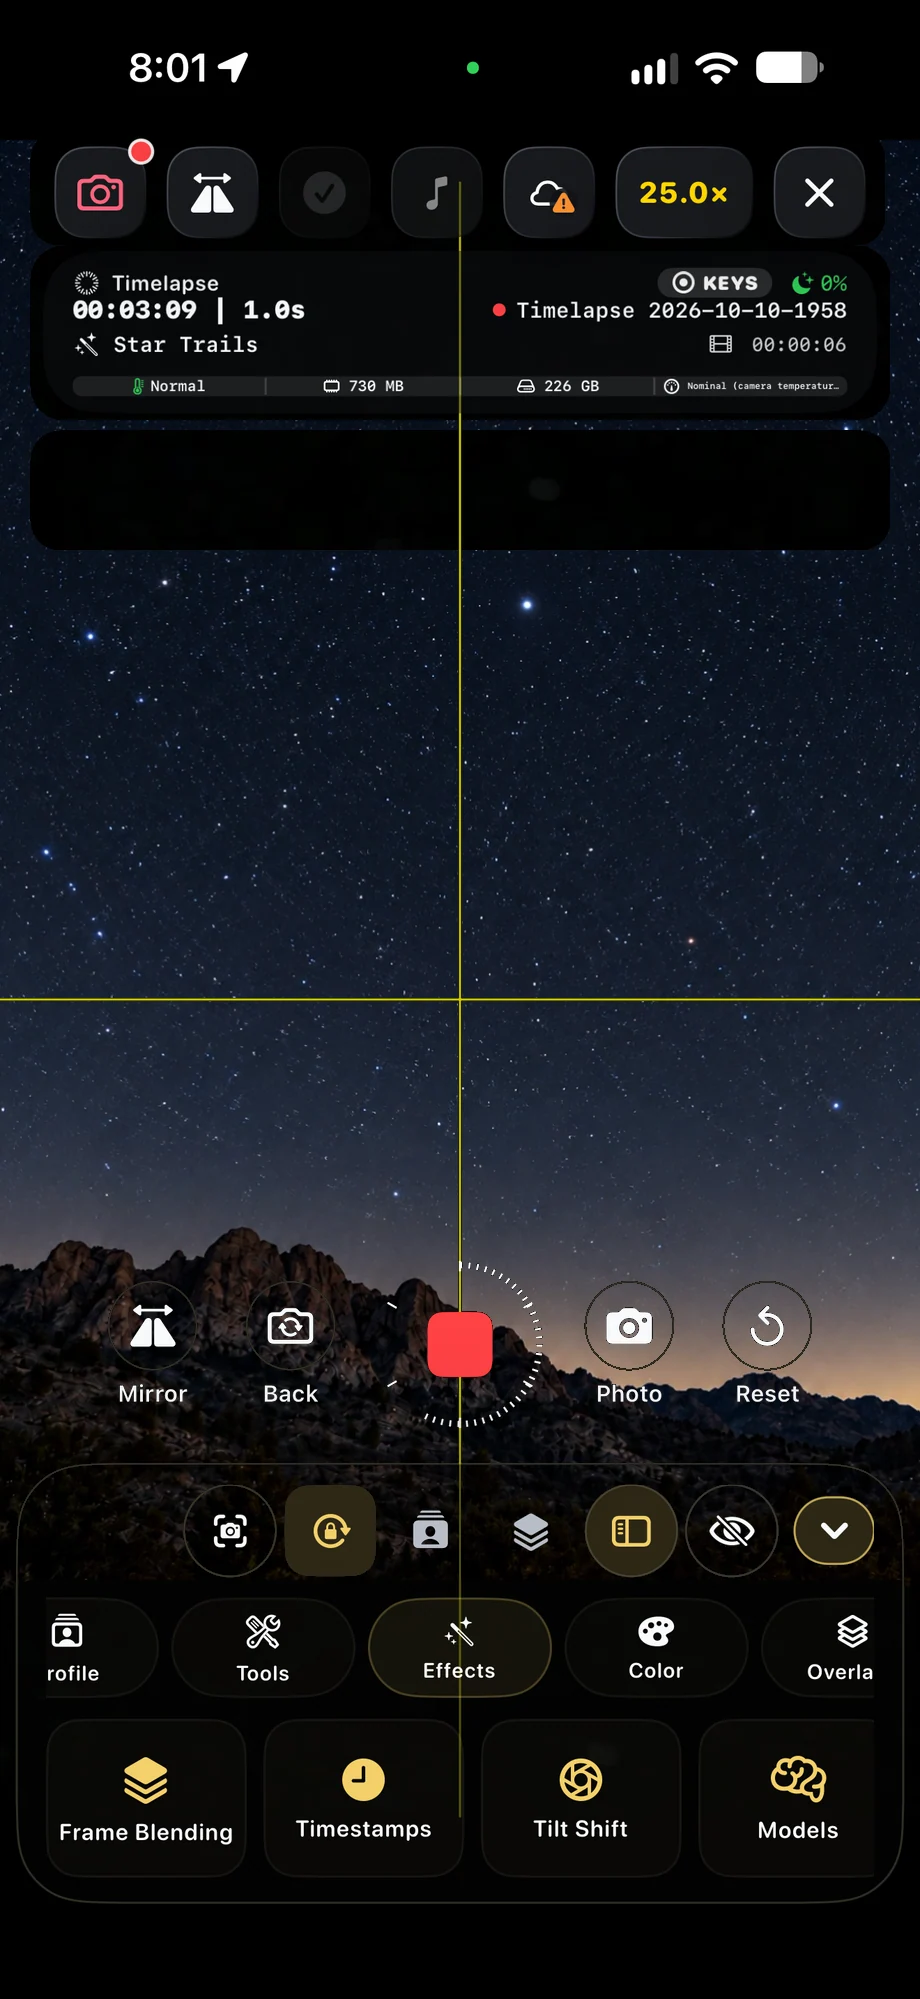
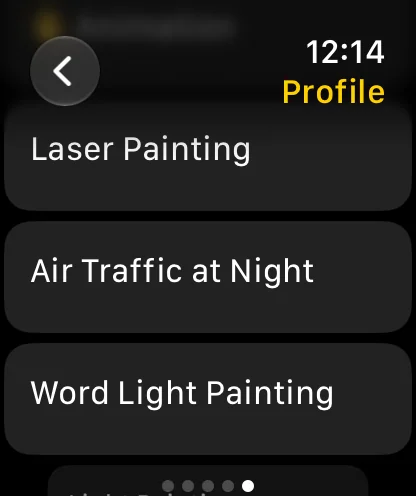
Built-in profiles cover familiar subjects such as star trails, air traffic, vehicles and light painting. They bring exposure, cadence and processing choices together. Review the preview after loading one: a city street, a dark field and a brightly lit performance will need different adjustments even when the subject category is the same.
Start with a profile suited to the scene.
02 · Camera Profiles
Make a separate version for your equipment.
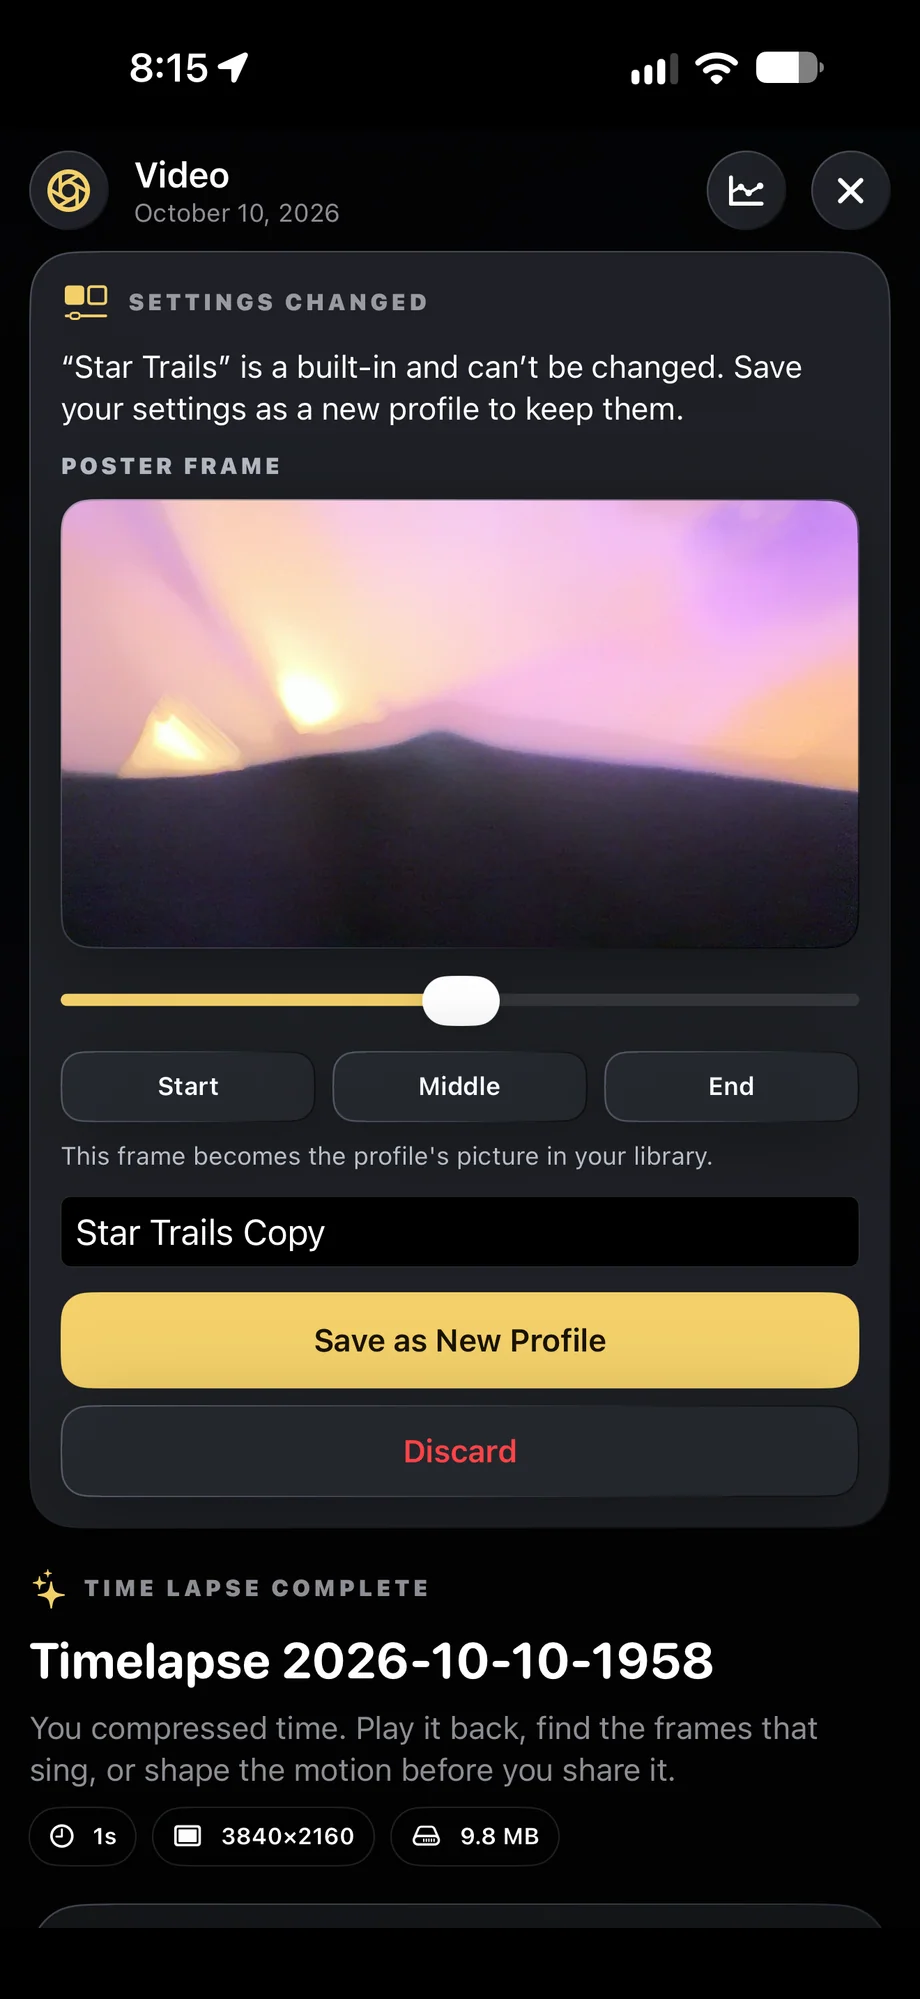
Change the camera, exposure, color and live-processing choices for the rig you are using. Save a copy with a name you will recognize later. Include enough context in the name to distinguish similar setups, such as a particular light tool or a night location. A profile saves settings; it does not guarantee the same light or physical framing.
Make a separate version for your equipment.
03 · Camera Profiles
Share a useful starting point.
TimeLapsed Community includes camera-profile sharing, so a proven setup can give another photographer a place to begin. Review a shared profile before recording and adapt it to your device and scene. Pair a profile with Camera Actions when the setup needs to evolve over time, and use saved-position guidance separately when returning to an earlier composition.
Share a useful starting point.
A Practical Workflow
- 01
Load a starting profile
Choose a built-in setup for the subject you want to record.
- 02
Tune it to the location
Adjust exposure, interval, color and blending while checking the preview.
- 03
Save your version
Name the setup clearly and keep it ready for another shoot.
Inside the App
Tap a Screen for a Closer Look
Questions About Camera Profiles
Are built-in profiles available free?
Yes. The free camera includes built-in profiles. Advanced workflows and clean exports require Pro.
Can I share my profile?
Yes. TimeLapsed Community supports sharing camera profiles along with videos, images and automations.