01 · Sky Planner
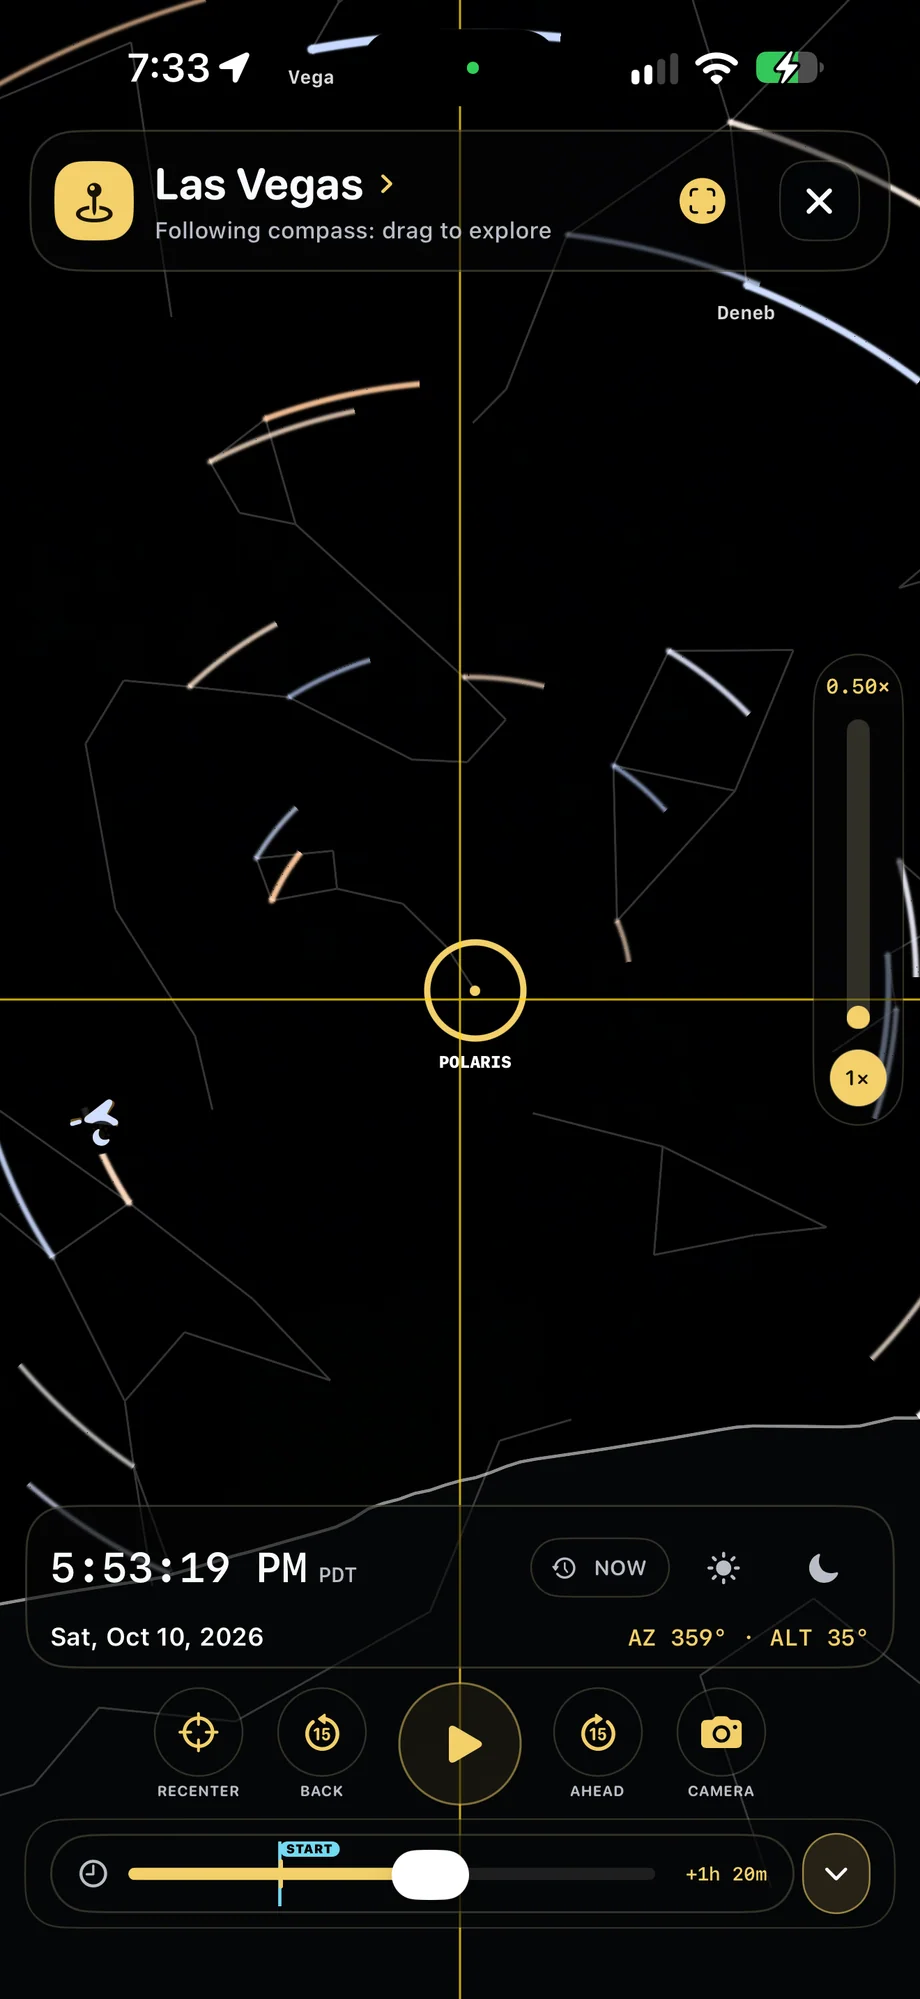
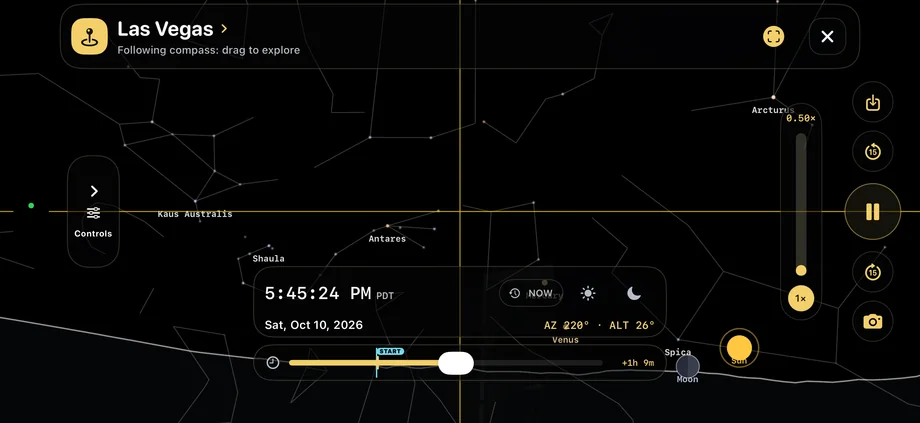
Plan around the location and date.
Choose where you will be shooting and the date you have in mind. Look at the sky subject’s direction and how that direction changes through the planned session. A foreground that works at one time may not line up later. Review the movement across the full period instead of checking only the opening frame.
Plan around the location and date.
02 · Sky Planner
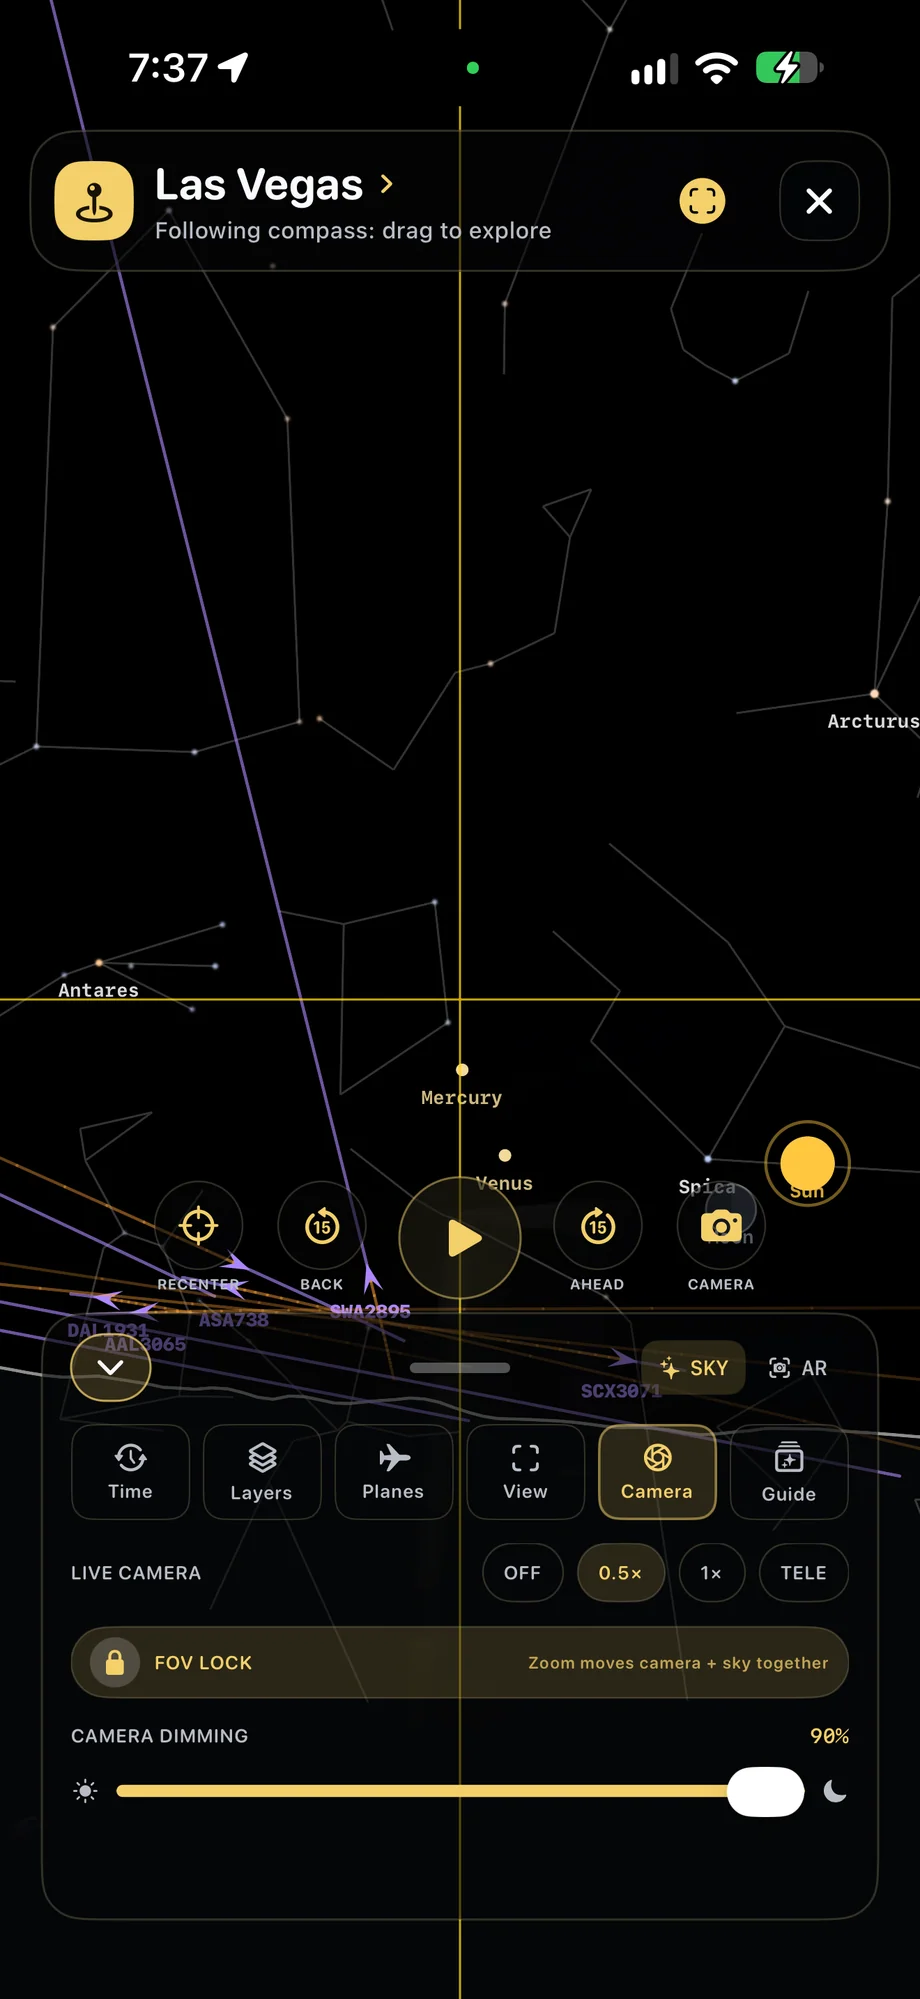
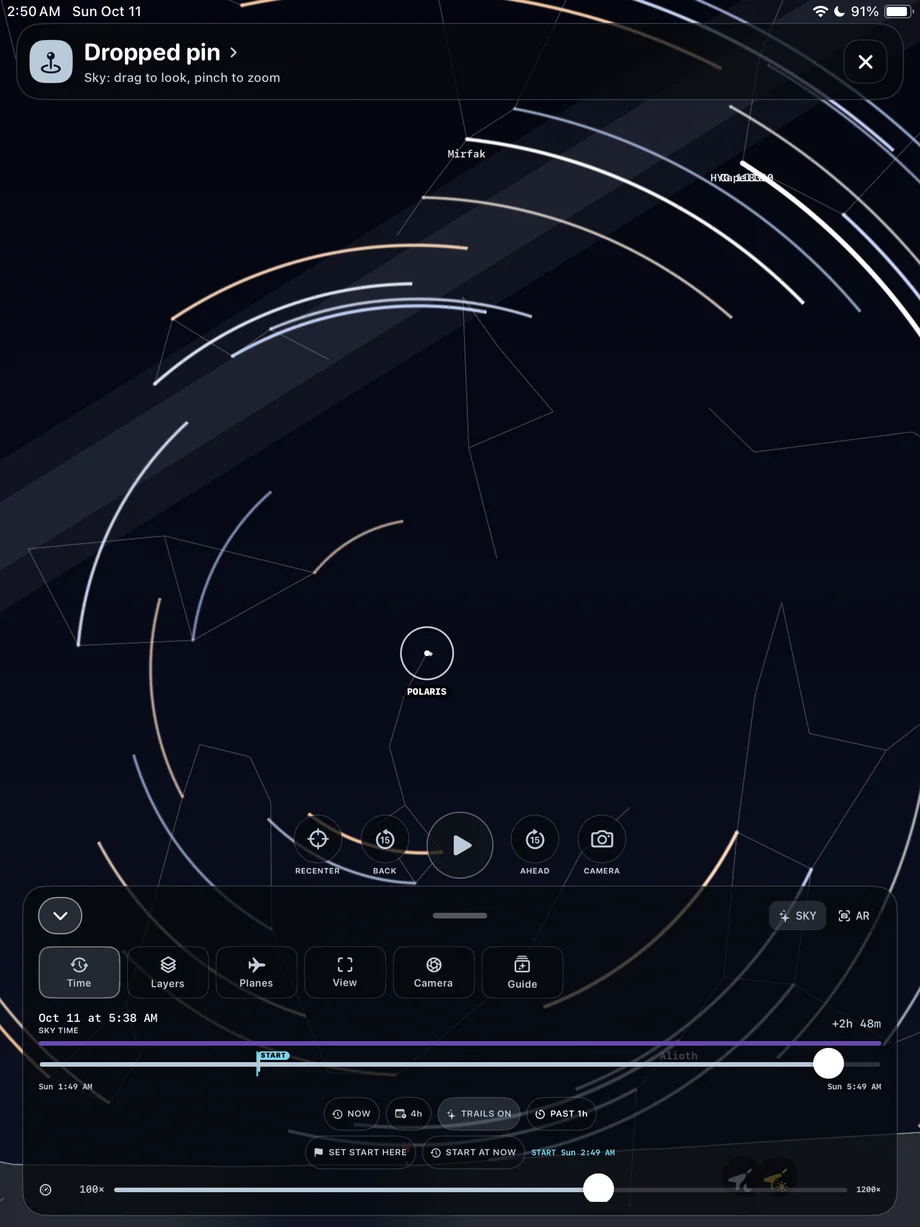
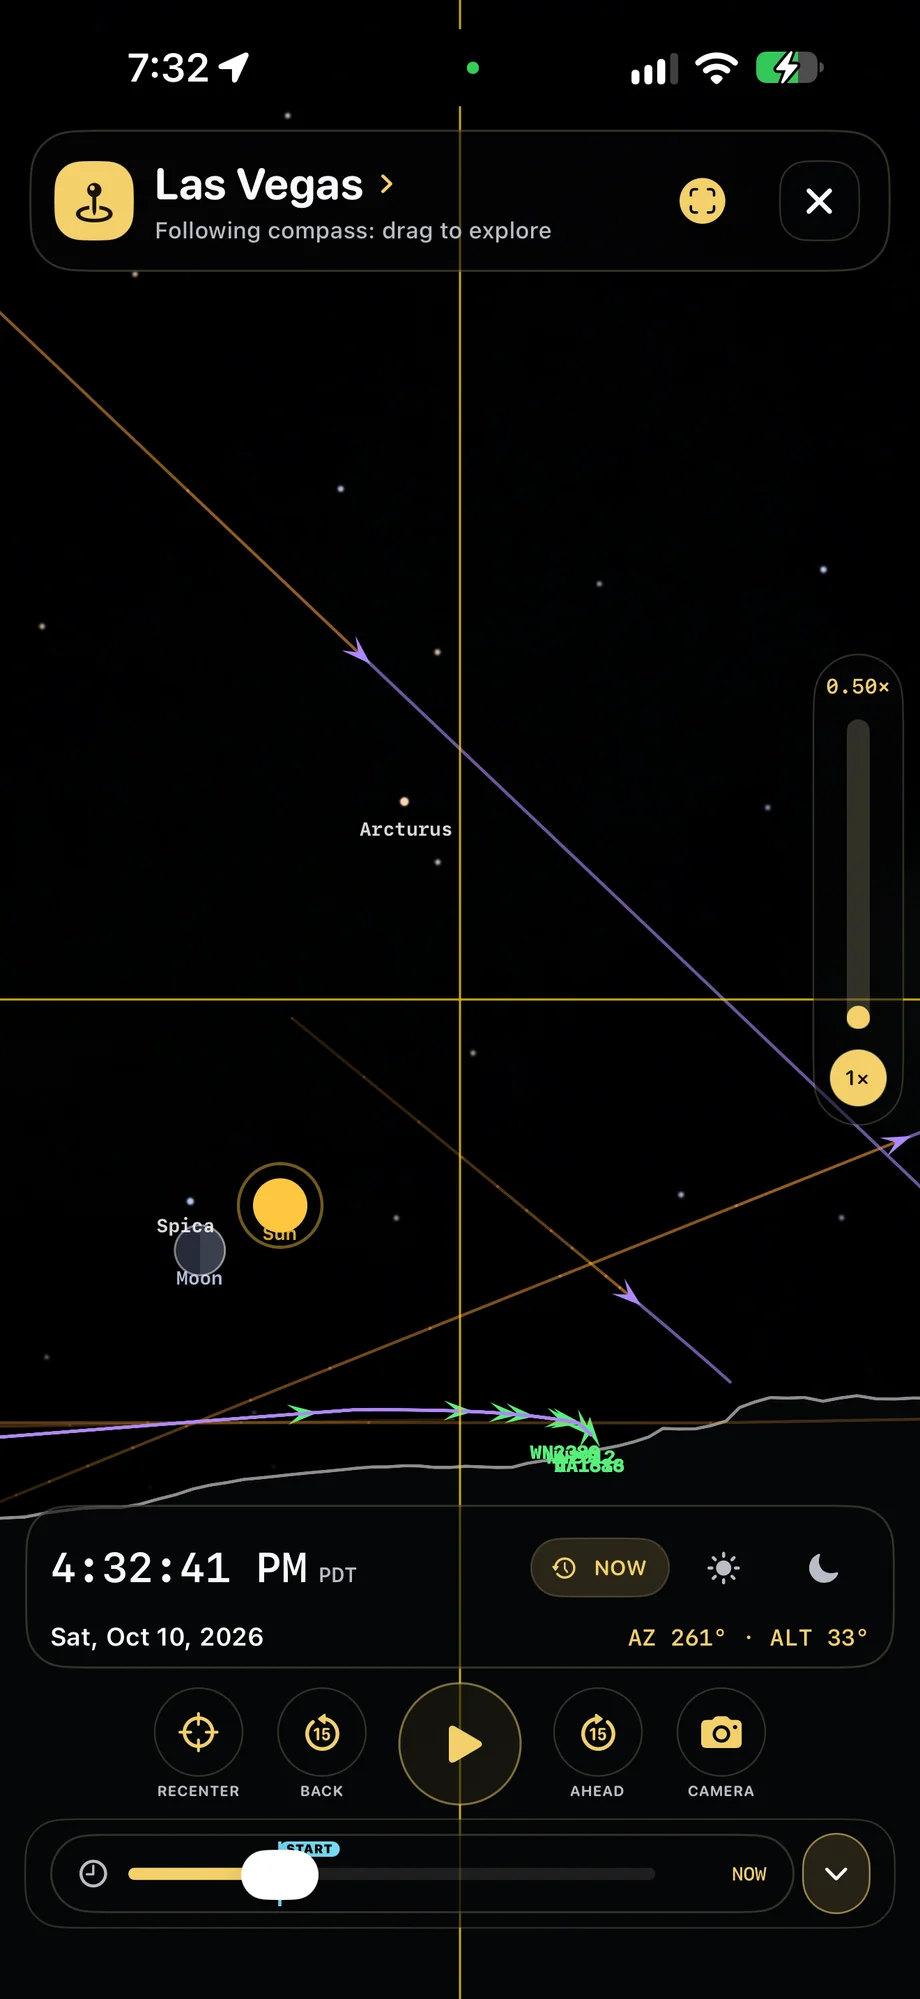
Connect the sky to the actual camera view.
Use the planner to think about the lens, framing and foreground together. Decide how much room the subject needs to move and where the landscape will sit beneath it. The app’s sky view also helps identify what you are looking toward. Treat that view as preparation, then check the real composition and focus when you arrive at the location.
Connect the sky to the actual camera view.
03 · Sky Planner
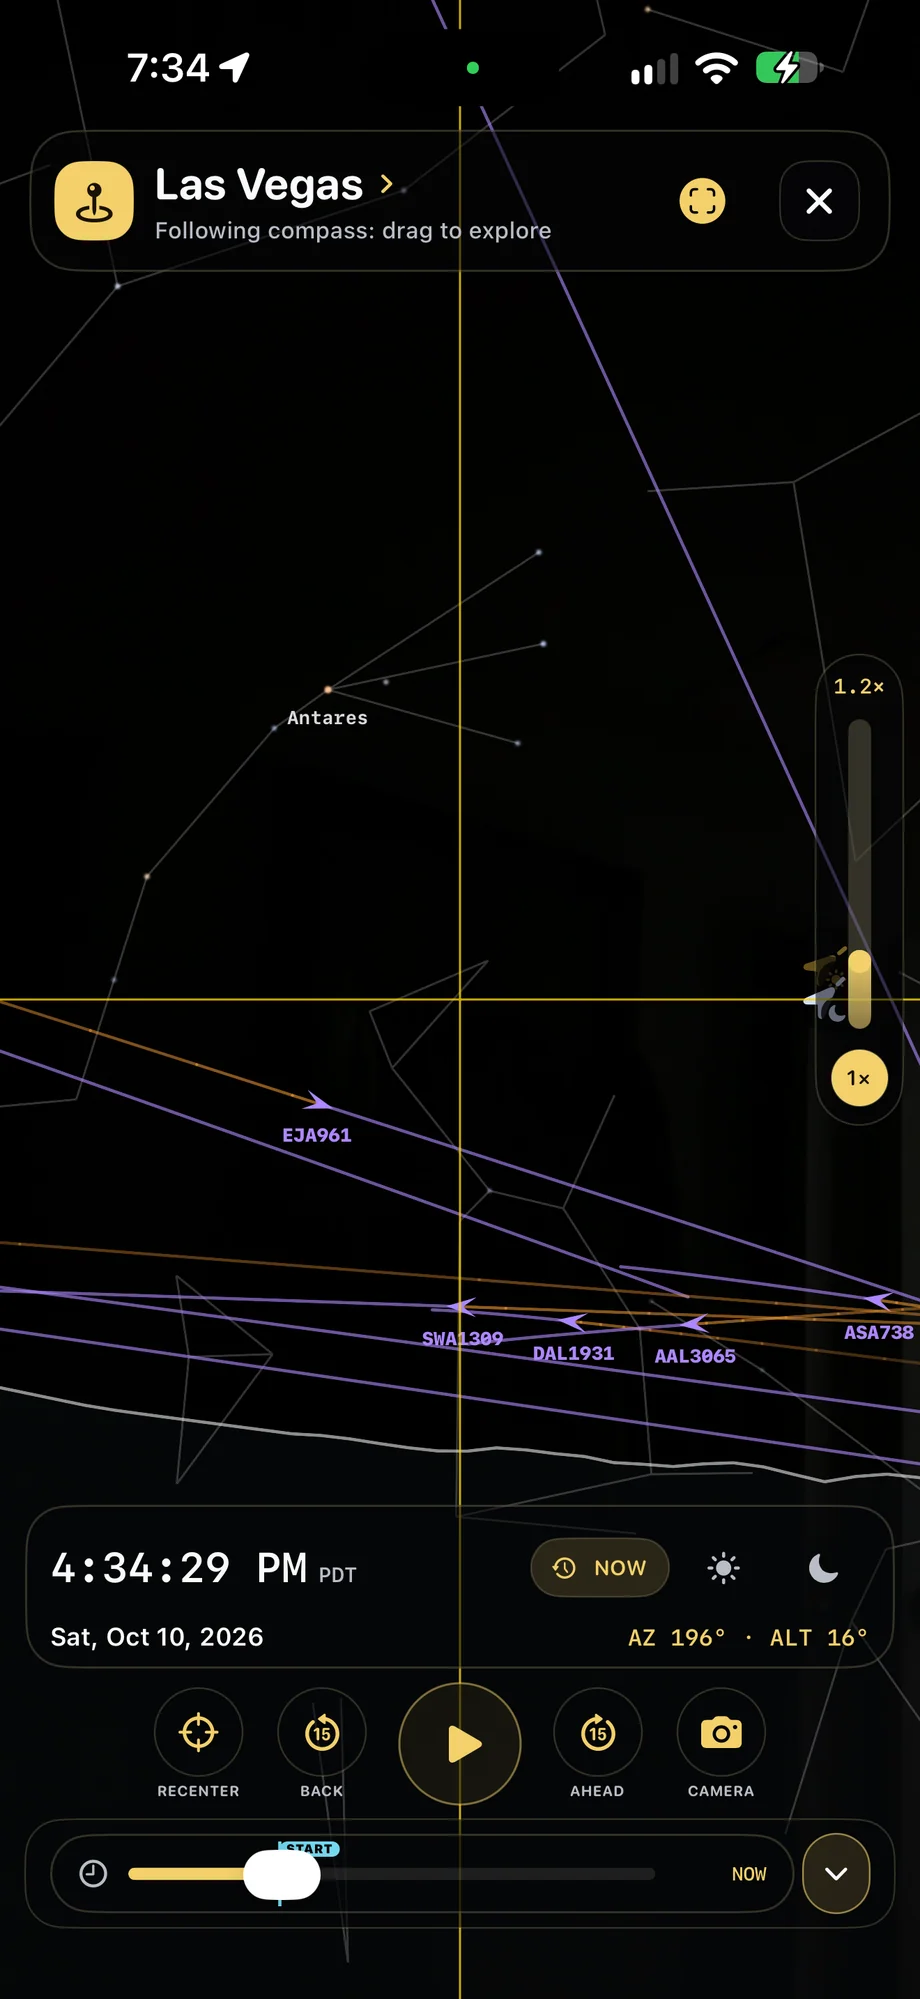
Bring darkness and weather into the decision.
Open Dark Hours to check the night’s useful windows and compare the location with the dark sky map. Review weather before committing to a long outdoor capture. Optional aircraft data adds another layer when you supply your own supported flight-provider keys. Sky planning is most useful when the timing, conditions and camera setup are considered together.
Bring darkness and weather into the decision.
A Practical Workflow
- 01
Choose the place and date
Set the location for the shoot you are planning.
- 02
Inspect the subject’s path
Review the sky direction and movement across the intended recording.
- 03
Check the conditions
Use Dark Hours, dark sky maps and weather before mounting the camera.
Inside the App
Tap a Screen for a Closer Look
Questions About Sky Planner
Can I plan somewhere other than my current location?
Yes. The planning workflow lets you select a place and date for a future shoot.
Is aircraft data included automatically?
Aircraft layers use your own supported flight-provider keys. Provider access, coverage and charges vary.