01 · Dark Hours
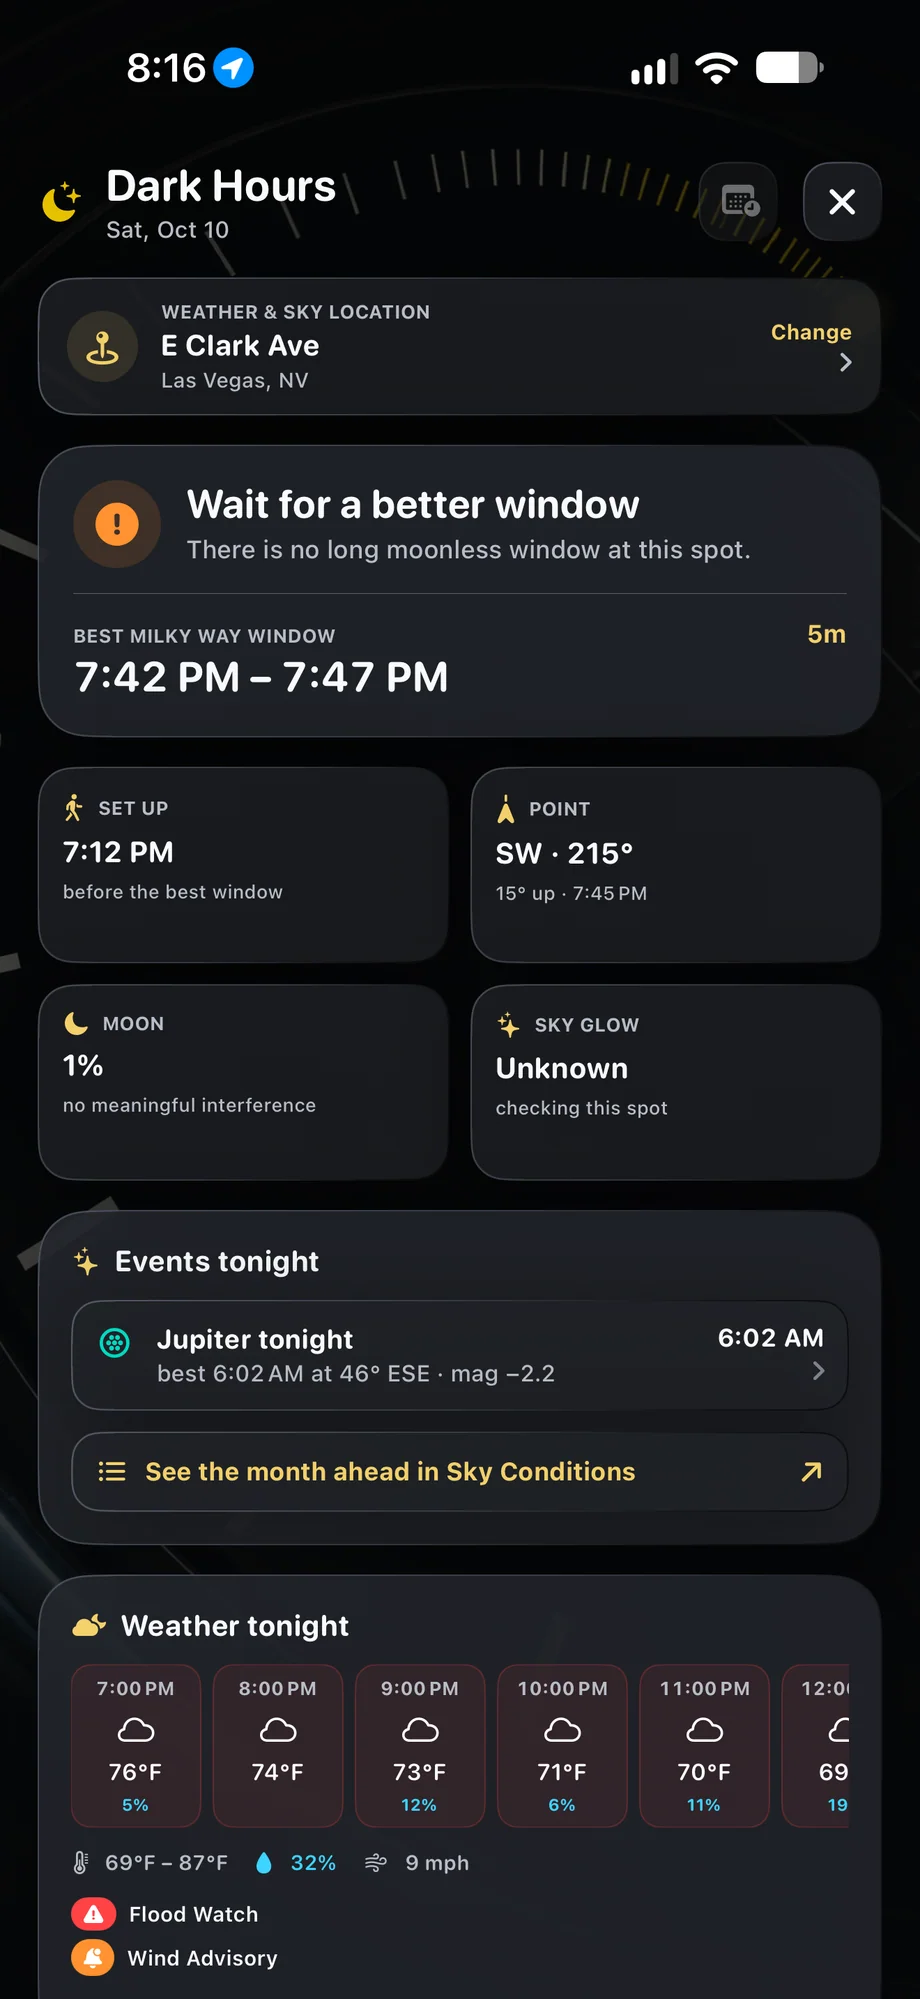
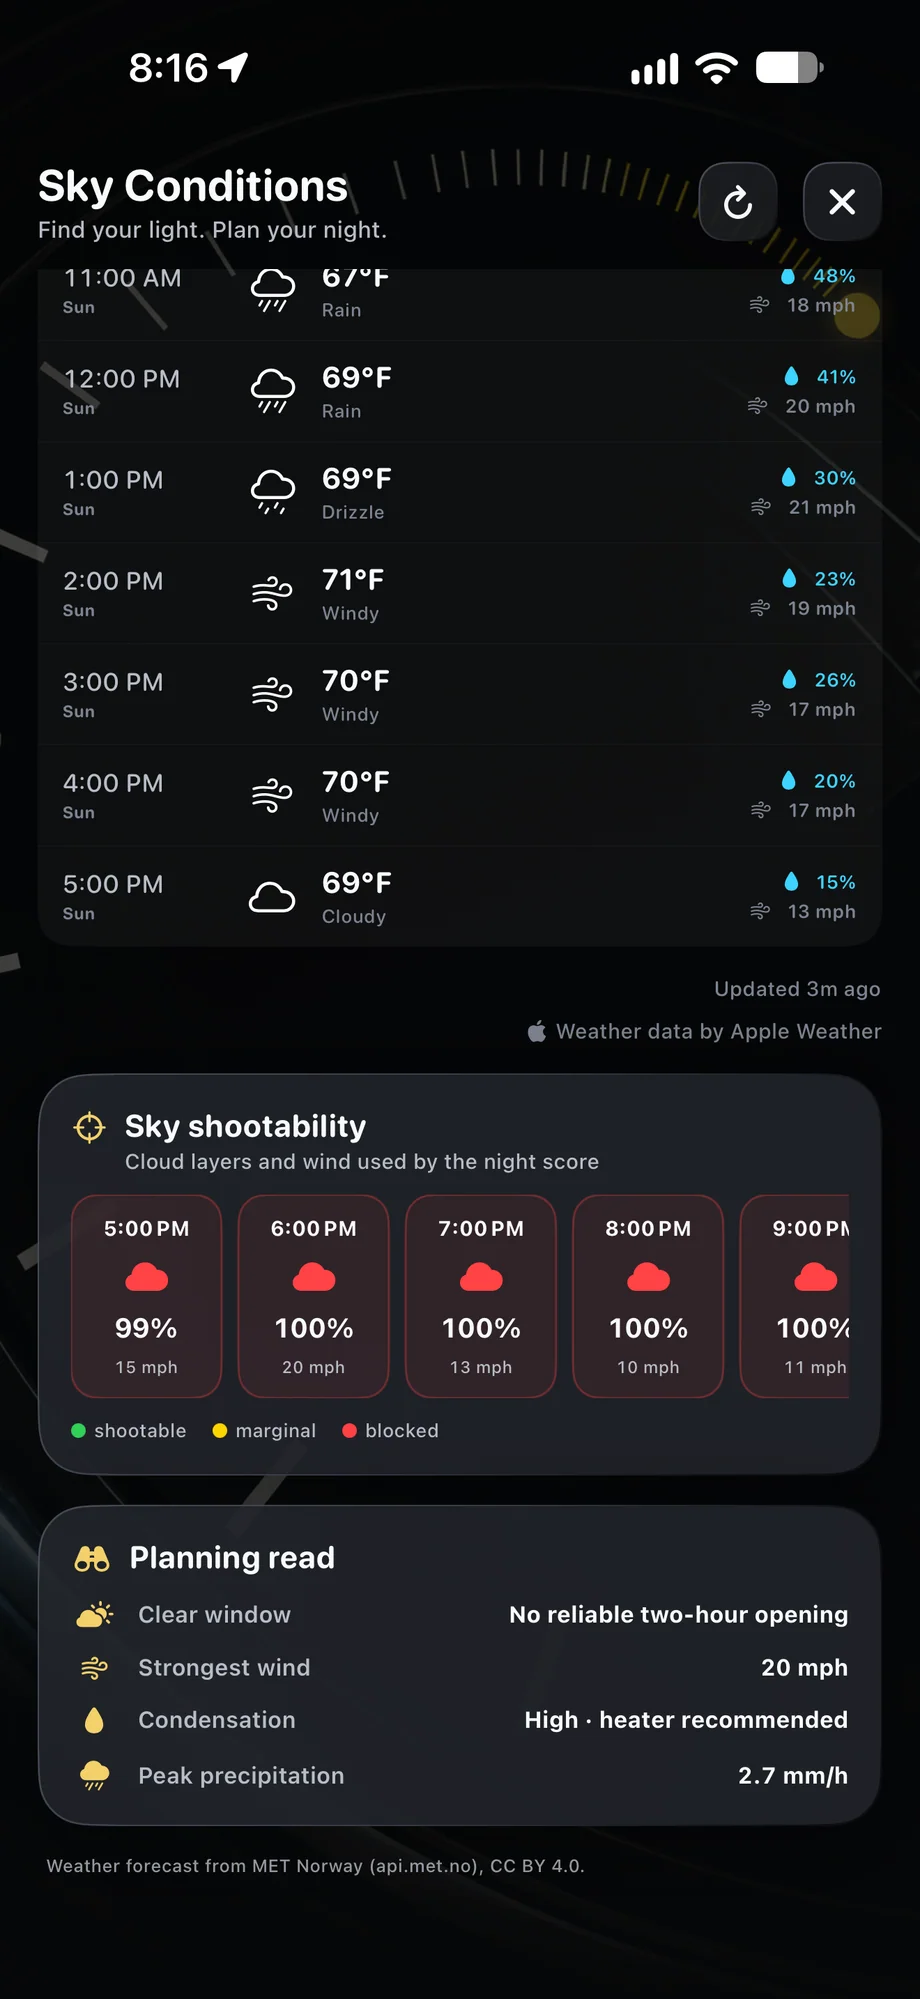
Distinguish sunset from usable darkness.
The sky takes time to darken after the Sun goes down. Review the dark window for the selected date, then compare it with the Moon’s timing and the subject you want to capture. A moonless period may be short enough that setup needs to happen beforehand. Give yourself time to frame, focus and check exposure before the useful window opens.
Distinguish sunset from usable darkness.
02 · Dark Hours
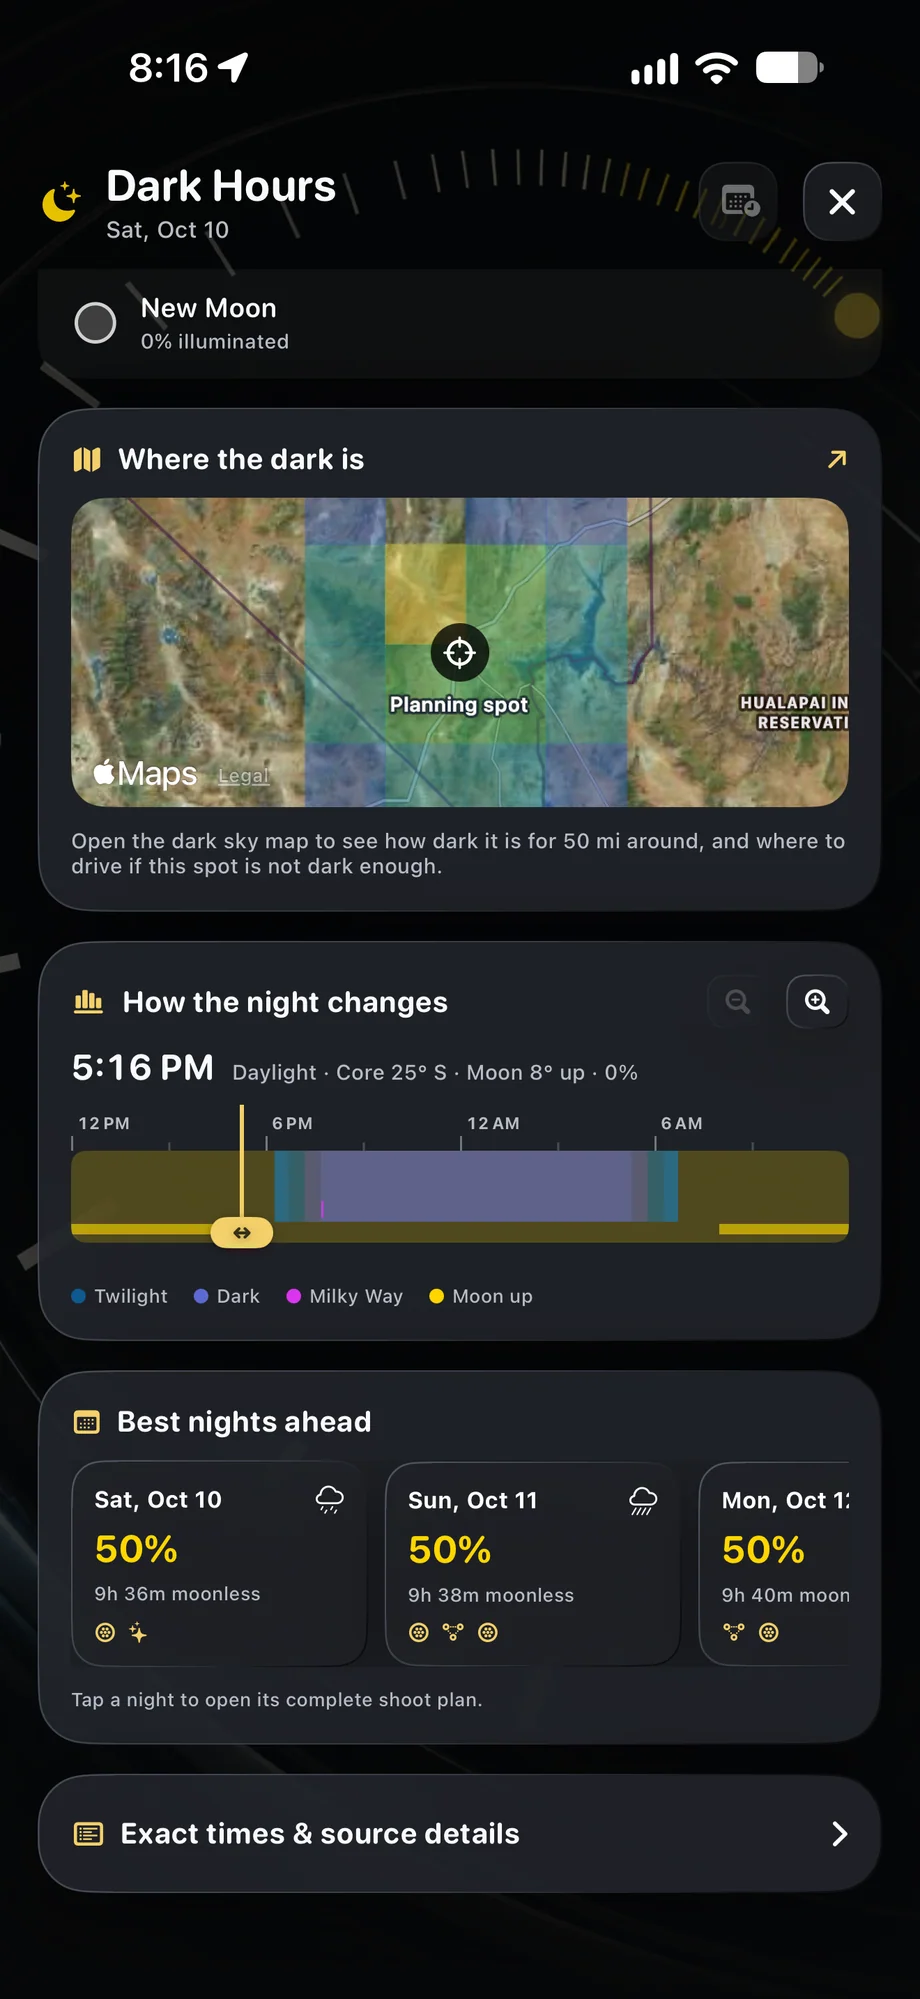
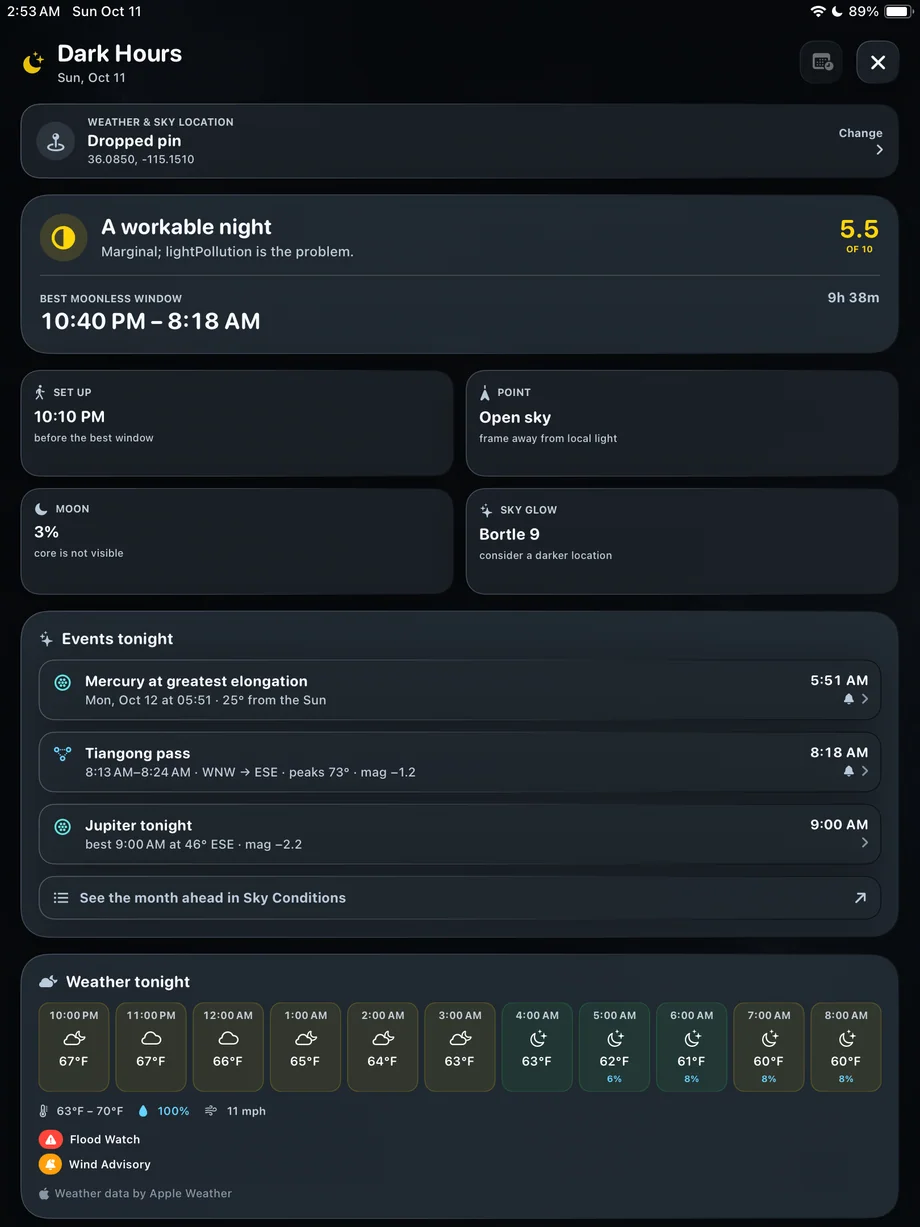
Compare nights instead of forcing the first date.
Look through upcoming opportunities when the shoot is flexible. Milky Way visibility, moonless time and weather can make one night more suitable than another. Consider the whole session rather than only a headline score. A good dark window is less useful if cloud cover is likely to hide the sky during the part you want to record.
Compare nights instead of forcing the first date.
03 · Dark Hours
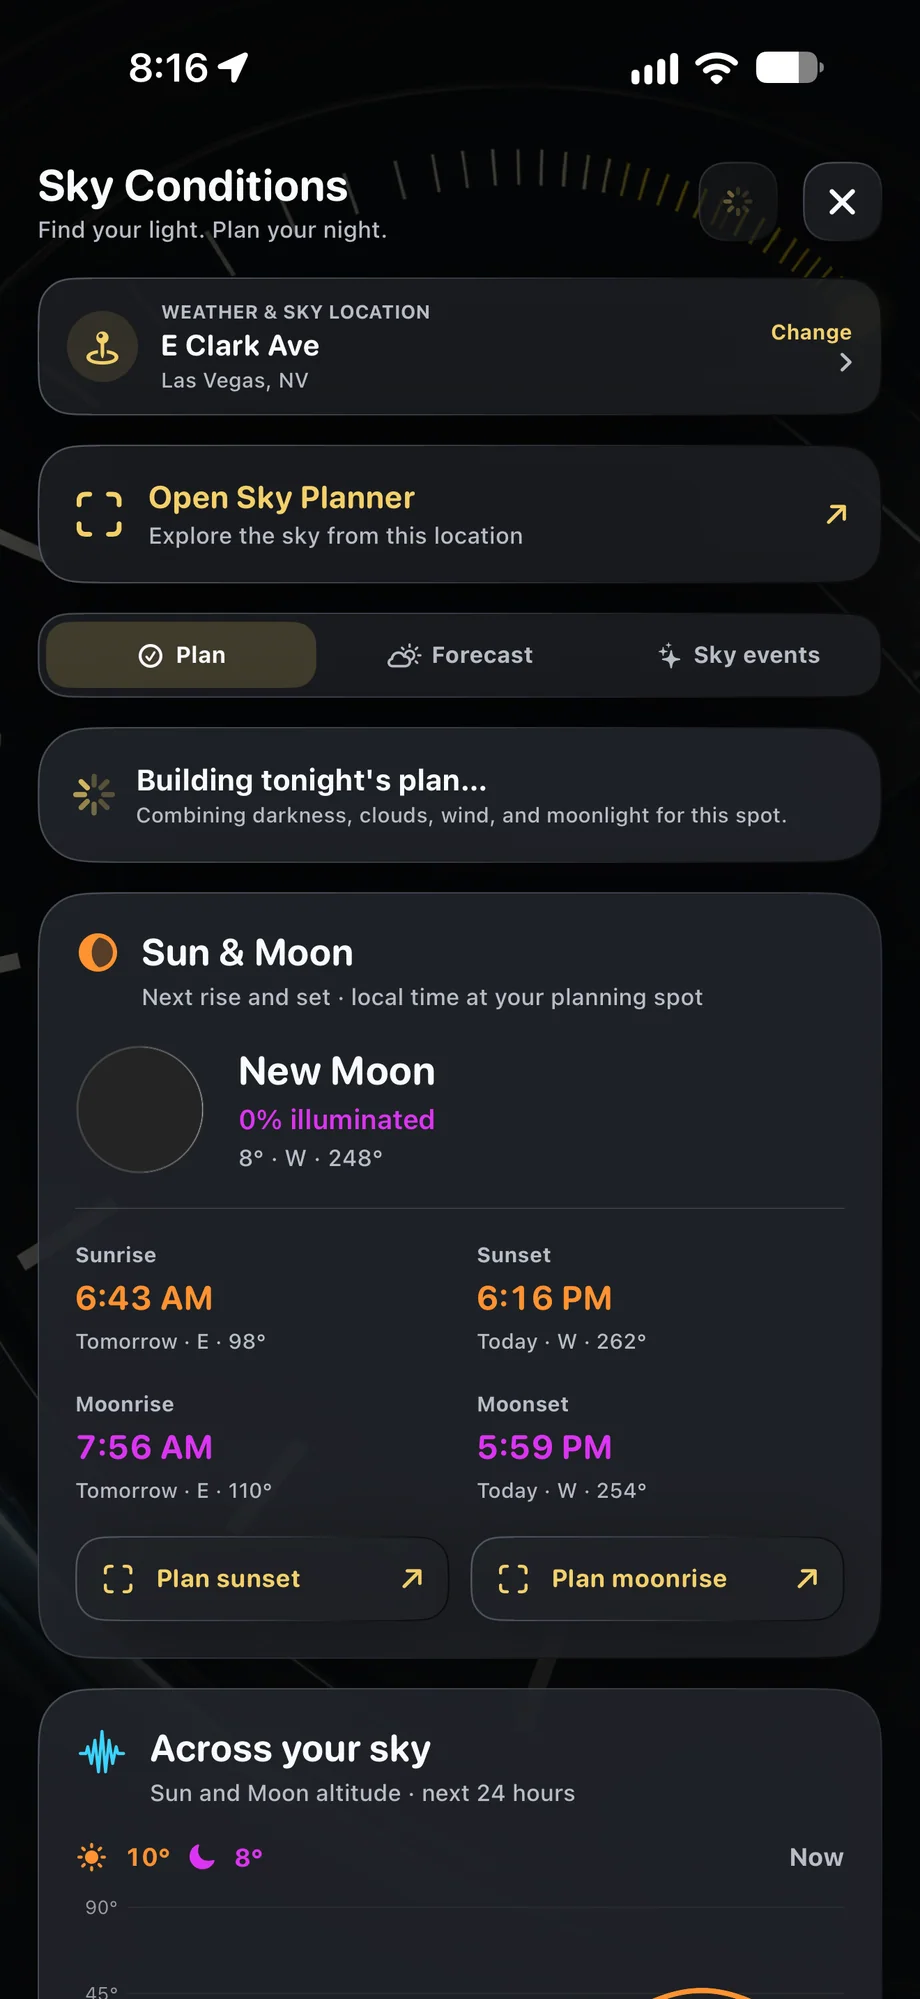
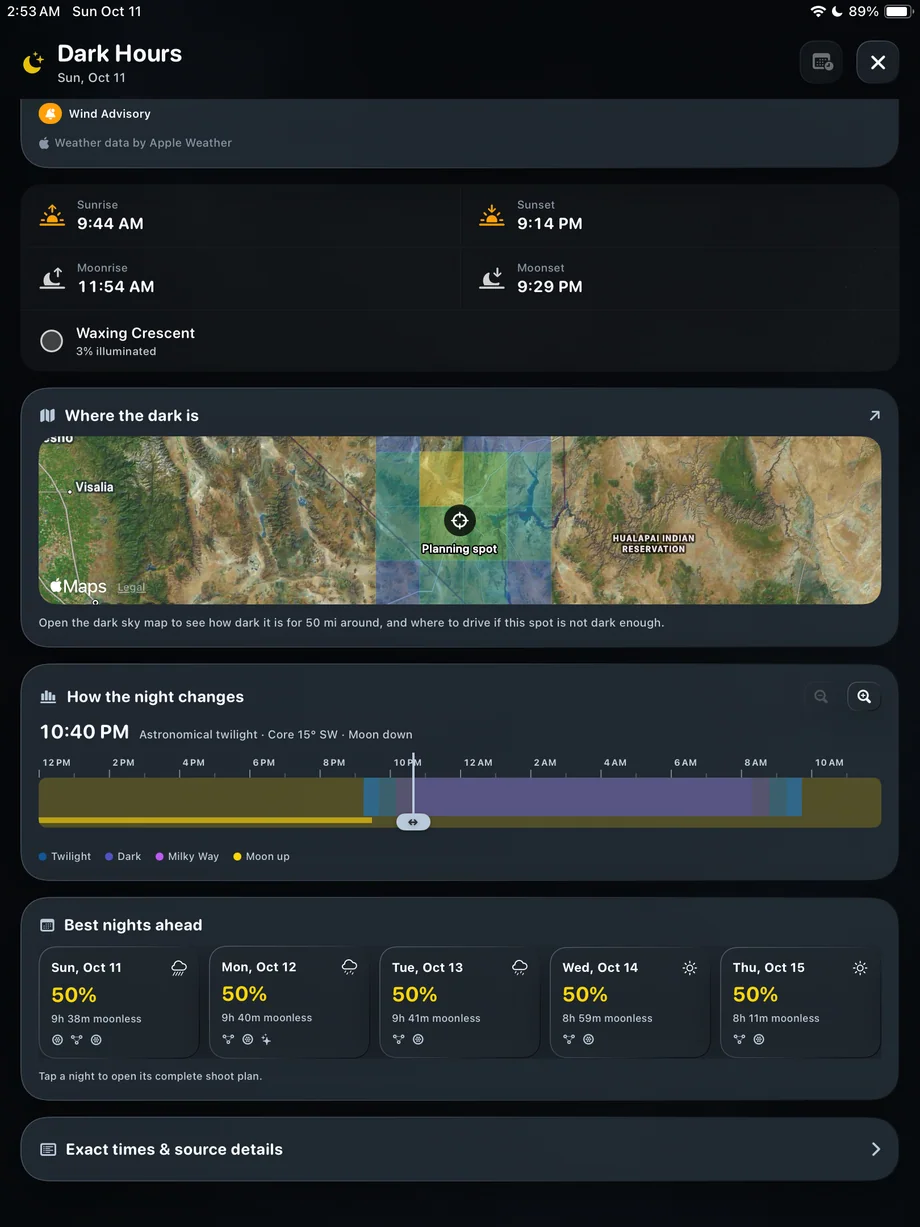
Take the plan back to the landscape.
Use the dark sky map and Bortle panels to compare locations, then plan access and directions before traveling. Review forecast information close to departure and again at the site. The planning data helps you make a decision, while the camera preview and actual conditions tell you what is possible once the phone is on the tripod.
Take the plan back to the landscape.
A Practical Workflow
- 01
Select the location
Set the place and date for the night you are considering.
- 02
Find the window
Compare darkness, moonless time and Milky Way visibility.
- 03
Review the practical details
Check weather, travel and setup time before committing to the shoot.
Inside the App
Tap a Screen for a Closer Look
Questions About Dark Hours
Does Dark Hours guarantee a clear sky?
No. It combines planning information to help you choose a window. Weather and actual sky conditions still need to be checked.
Can I compare future nights?
Yes. Use the planning view to inspect upcoming nights and choose a date that fits your subject and schedule.